Behringer Wing for Beginners: Where to Start (Learning Path)
So you just got a Behringer Wing, it’s sitting in front of you, and you’re not sure where to start. This is the order I’d learn it in if I were starting over using my Wing tutorials. Work through it stage by stage and you’ll go from “what does this button do” to running a Sunday with a backup on a USB drive.
Stage 1: Your First Hour on the Wing
Before you touch a fader, get a picture of what the console actually is. The Wing has 48 stereo channels: channels 1 through 40 on the first four layers, plus eight aux ins you can patch in just like a normal channel. The board supports way more inputs than that, though. You can bring in 32 inputs from each stage box on AES50 ports A, B and C, 64 more over Dante if you add the card, and 48 over USB. You just can’t use more than 48 channels at the same time. I break all of that down in 48 Channels and Beyond: Mastering Inputs on the Behringer Wing (blog post).
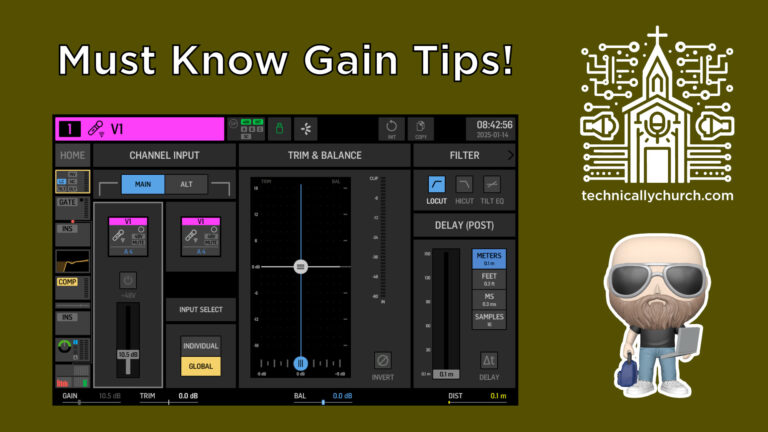
Next, learn the home screen. Select a channel and that screen shows you the patch, gain and trim, phantom power, a snapshot of the EQ, your filters, which of the four mains it’s assigned to, and its sends to buses and matrices. One tip: you have to hold the 48V button to turn phantom on. My Channel HOME Screen walkthrough goes through every tab (blog post).
Then watch how a real church board is laid out. I walk through my whole Wing at The River Church, channel by channel. The short version: I run the board from my user 1 and 2 layers, with the band on user 1 and my pastors’ mics and ProPresenter on user 2.
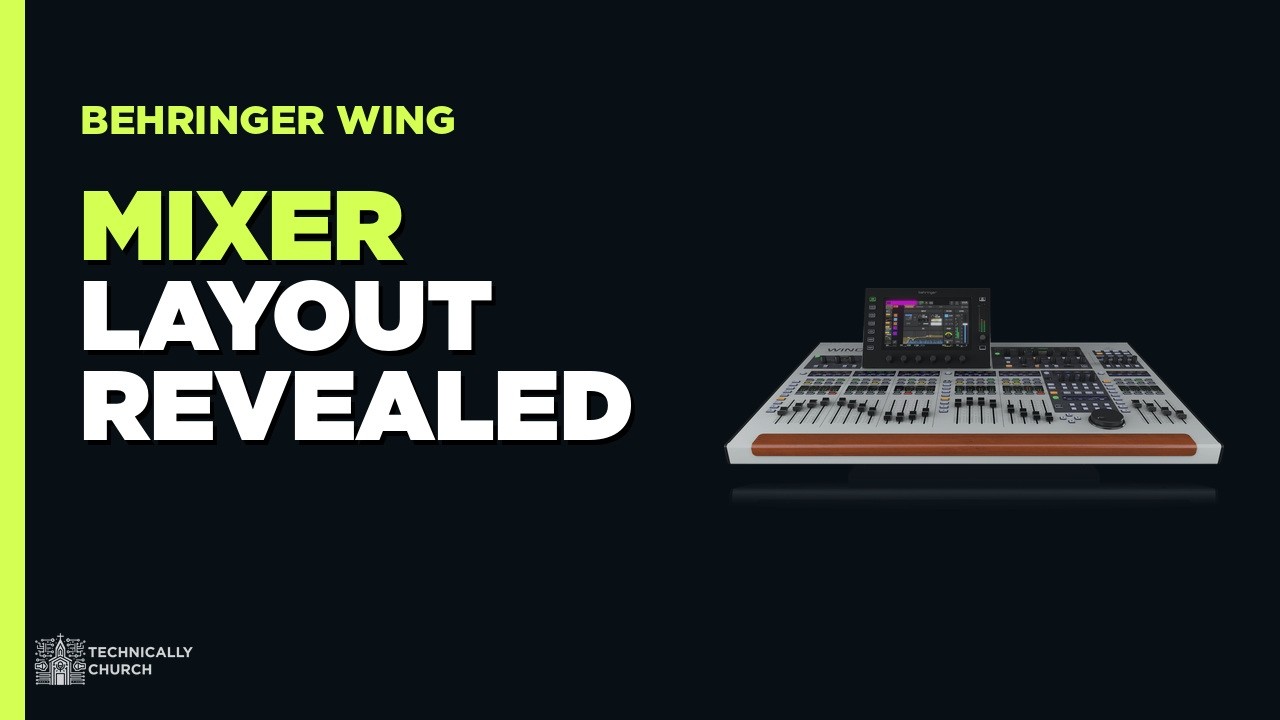
That’s Behind the Mixer: Real World Behringer Wing Layout/Setup (blog post). You aren’t stuck with the factory layers, either. You can literally put anything anywhere, which I show in Build Your Own Layout, and you can link the user layers across the surface so one press changes the whole board (How to Link Layers).
Stage 2: Gain Staging Comes Before Everything
When I train volunteers, I really hammer one thing: set your gains first. Your target is nominal gain, which on the meter is right where the green meets the yellow. Have each musician play by themselves at their loudest level, not the quiet strum they give you at sound check, and gain every channel to that point.
Why does it matter so much? Gain affects your gate, your compressor, your EQ, and your band’s in-ears and P16s. Fix your gains two songs into rehearsal and you’ve just changed everybody’s monitor mix. Watch Nail Your Sound Check Every Time (blog post).
The Wing also gives you trim, and beginners mix the two up. Gain is the actual preamp. Trim is a digital gain after it. Do them in that order: you can overgain a channel so it’s clipping, trim it down, and the meter will look fine while it still sounds distorted.
That’s Gain First, Trim Second (blog post).
Stage 3: Routing with Buses, Mains and Matrices
This is where the Wing is different from older boards. You get 16 buses, four mains, and eight matrices, and the order matters: buses first, then mains, then matrices.
- Buses are groups of channels. I use them for wireless in-ear mixes, for vocal reverb and delay, and to combine things like the whole drum kit into one bus so I don’t run out of channels on the P16s.
- Mains are for your main outs. My main 1 is the front of house PA, main 2 is my subwoofers with only certain channels sent to them, and I run my live stream as a main too.
- Matrices can now take any channel, bus or main (on firmware 3.0 and up), and they have processing. The one catch: a matrix can’t be sent back to the mains, so I can’t use one for my reverb.
Watch Buses vs Mains vs Matrices on the Behringer Wing (blog post). It’s the updated version for firmware 3.0, so skip my older routing video if you’re on current firmware. After that, Pre vs Post Fader Configurations (blog post) shows how to set each bus pre or post, and how a single channel can follow the bus or be set individually.
Stage 4: Snapshots and Shows
If you came from a board with scenes, the Wing splits that into three things in the Library. A snap is a snapshot of the entire board. A snip only records what you change. A show is a collection of snaps or snips in the order you want to run them. Start with Navigating Shows, Snaps, and Snips (blog post).
Then learn the one that trips everybody up: Save versus Update. Save stores every parameter on the board and only recalls what’s in your scope. Update only updates the parameters inside the scope. If your scope is narrow and you make a big change to your mains, Update won’t keep it. Save vs. Update Explained (blog post) is short and worth it.
Here’s how I use it on a Sunday: every song the band does gets its own snapshot, I load them into a show for that day, mix each song, hit Update, and then run the service with Previous, Next and Go in the show control section.
That’s How to Build & Run a Show on the Behringer Wing (blog post).
Stage 5: Back Up Your Board to USB
Don’t skip this one. In the Library, go to snapshots, hit Save plus Scope, select all, and save a full snapshot named something like “board backup” plus the date. Then save the same thing to the USB drive. I keep a backup on the Wing, one on the USB drive, and I copy that file to Google Drive, so it lives in three places. Watch Save and Restore Your Behringer Wing to USB (blog post).
This post contains affiliate links. As an Amazon Associate I earn from qualifying purchases, at no extra cost to you. It helps pay for the tutorials.
Moving files around is simple once you get it: load a file from one drive, switch to the other, and save it there. That’s How to Transfer Files On and Off a USB Drive (blog post). I use a SanDisk Ultra Fit low-profile drive; it works in the Wing and it’s small enough that it doesn’t stick out.
Once you can load files from USB, grab my free downloads. The Wing doesn’t come with default EQs, so I made free channel presets (blog post) as a starting point, not a fix for your mix. I also built an entire console file (blog post) for a full band with tracks, left/right mains, a separate sub out, a live stream main, and routing for multitrack recording. Load it and change it from there.
Stage 6: Next Steps Once You’re Comfortable
- Firmware. Back up your board before you upgrade. I upgrade live in my firmware 3.1 walkthrough (blog post). If you use Dante, test it after: past upgrades have broken it.
- Remote control. Get the Wing on your network and Wing Co-Pilot controls the entire console from an iPad as if you’re at front of house: Behringer WING + iPad (blog post). WingEdit 101 turns a Mac or PC into a second screen and controller, and lets you edit a show file offline.
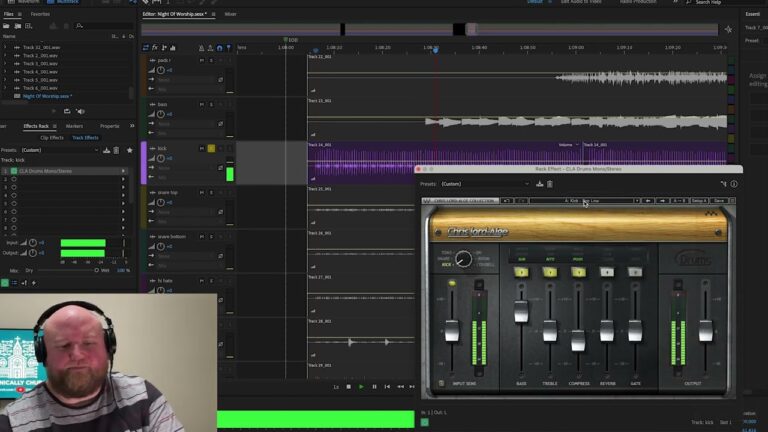
- Recording. With just a USB cable and free software, you can record 48 individual channels: Behringer Wing + Audacity (blog post).
- Dante. With the Wing Dante card you get 64 channels in and out. I use it for multitrack recording and Multitracks.com playback. Start with Dante Controller with Behringer Wing (blog post).
- Waves. Connect the Wing’s USB port to a computer running SuperRack Performer to process channels with Waves plugins: Waves SuperRack Performer setup (blog post).
Gear I Use for This
The full rig is on my Wing FOH system kit page, and if recording is next for you, see the multitrack recording kit.
- Behringer Wing (full size): the console I run every week. It also comes in black and a compact version.
- Behringer S32 stage box: the snake I use the most; in several places I have two chained together.
- SanDisk 16GB Ultra Fit: the low-profile USB drive for backups, presets and firmware.
- Wing Dante card: adds 64 channels of Dante for recording and playback.
- USB A-to-B cable: connects the Wing’s USB port to a computer for recording or Waves.
Everything else I use is on my product recommendations page. If you get stuck on any of these stages, ask me in the chat here on the site or leave a comment below, and I’ll point you to the right video.