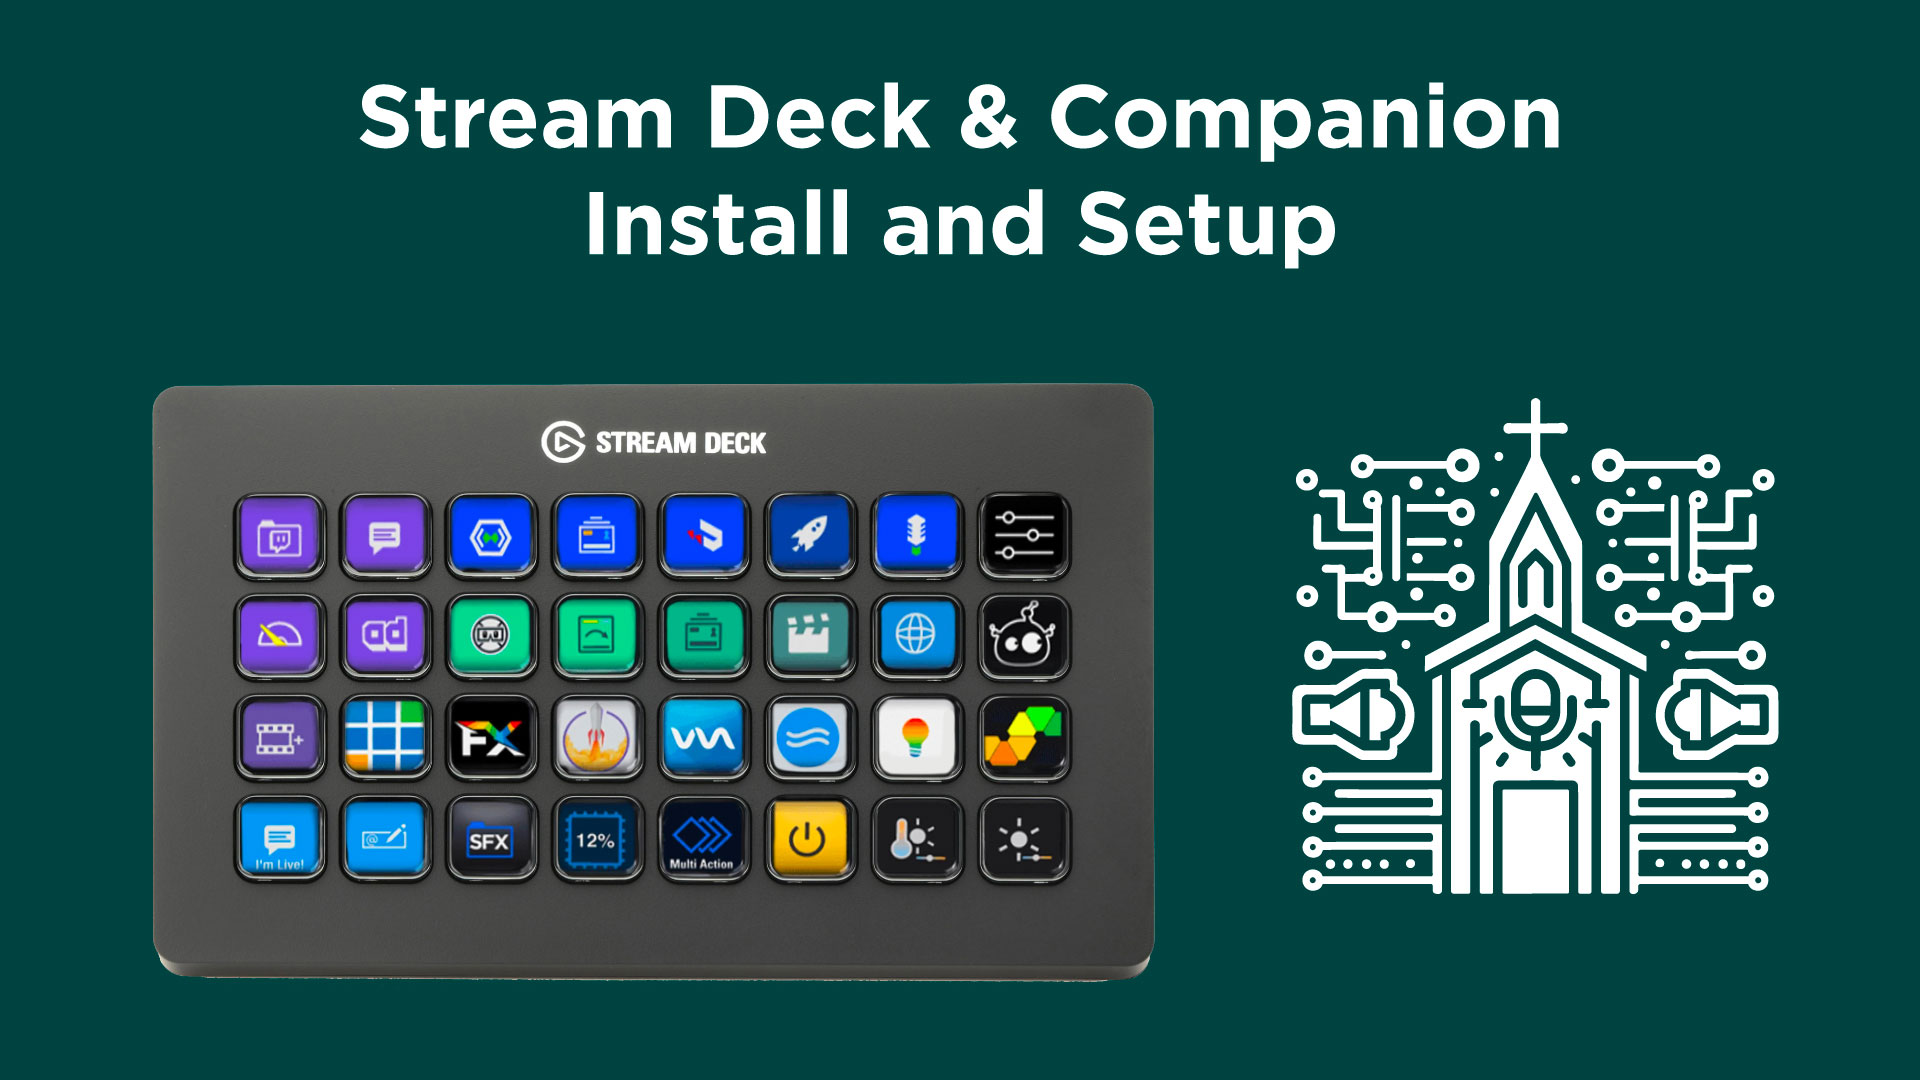
Stream Deck and Companion: How to Install and Setup
The Elgato Stream Deck is a versatile controller known for its ability to manage a wide range of software and hardware with the touch of a button. When paired with the Bitfocus Companion app, a third-party application designed to extend the Stream Deck’s capabilities, users gain an unparalleled level of control over their production environments. The Companion app enables the Stream Deck to interface with popular production tools such as ProPresenter, Blackmagic devices, lighting consoles, and more, using various protocols like APIs, MIDI, OSC, and more.
Step-by-Step Guide to Installing and Configuring Bitfocus Companion
Step 1: Download the Companion Software
- Open your preferred web browser and navigate to the Bitfocus website.
- Create Account or Login and go to the download section.
- Select the appropriate version of the Companion software for your operating system. Ensure you download the latest stable release that is compatible with your system.
Step 2: Install the Companion Software
- Locate the downloaded installer file on your computer. This will typically be in your ‘Downloads’ folder.
- Double-click the installer file to start the installation process.
- Follow the on-screen instructions to complete the installation. You may need to agree to a license agreement or select installation preferences.
Step 3: Set Up the Companion App
- Launch the Companion app from your applications folder or start menu.
- Upon first launch, you might see a setup wizard. This will help configure basic settings.
- Configure the app to run at startup and start minimized to ensure the Stream Deck functions seamlessly every time your computer boots up.
Step 4: Connect the Stream Deck
- Connect your Elgato Stream Deck to your computer using a USB cable.
- Ensure that the Stream Deck is recognized by Companion by selecting “Scan USB Devices” from the Companion mini menu in your taskbar.
- Launch the Companion GUI (Graphical User Interface). This interface runs as a local web server on your computer and will manage the connection between your Stream Deck and the controlled devices.
Step 5: Configure Devices and Interfaces
- Navigate to the ‘Connections’ tab within the Companion GUI.
- Add each device you want to control, such as ProPresenter, Blackmagic gear, or lighting consoles. This will involve specifying IP addresses and ports for network-connected devices.
- Enable the Stream Deck USB hardware within the software settings to allow the Companion app to send commands to the Stream Deck.
Step 6: Customize Buttons and Actions
- Go to the ‘Buttons’ tab in the Companion GUI to begin programming your Stream Deck.
- Create and assign actions to buttons. This can include launching media, controlling lights, or switching video sources.
- Use the drag-and-drop interface to place commands on specific buttons, and customize the appearance of each button if desired.
Step 7: Test Your Configuration
- Test each button to ensure it triggers the correct actions. This might involve playing a media file, switching a video feed, or adjusting lighting settings.
- Adjust configurations as necessary based on test results to ensure all controls work as expected.
Conclusion
The Stream Deck, combined with the Bitfocus Companion app, is an invaluable tool for church tech teams, offering simplified control over a complex array of devices and software. This setup not only enhances the efficiency of managing worship services but also significantly reduces the potential for errors, allowing tech operators to deliver a smooth and engaging worship experience.


4 Comments