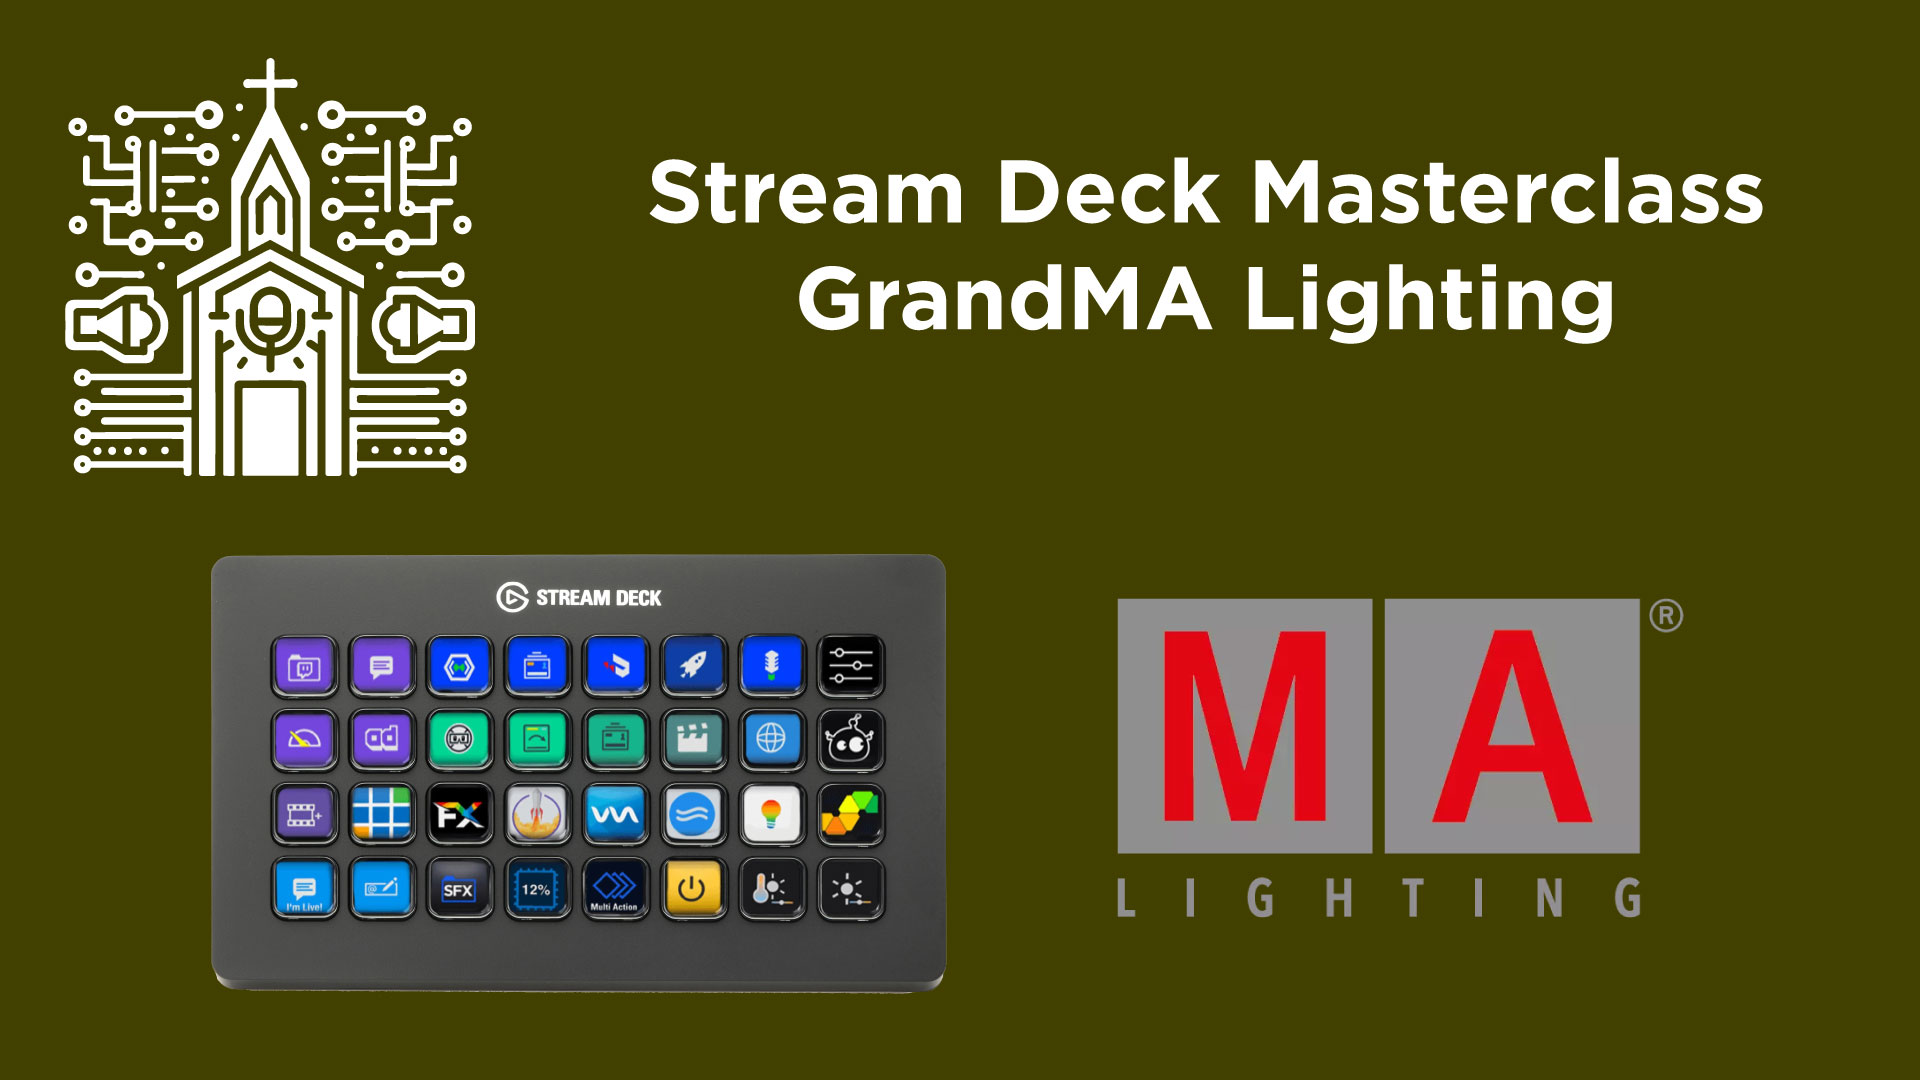
Stream Deck Masterclass: GrandMA Lighting Console Setup
In this article, I’ll walk you through a detailed guide on how to configure and use the Elgato Stream Deck as a remote controller for the GrandMA lighting console. This setup allows you to queue executors and scenes with a simple button press, offering a highly convenient way to manage lighting settings during live events or performances.
If you are in need of purchasing a Stream Deck, your support would be amazing at my affiliate links:
🔗 Stream Deck
🔗 Stream Deck XL
Step-by-Step Guide: Configuring Stream Deck with GrandMA Lighting Console
Equipment Needed:
- Elgato Stream Deck
- GrandMA lighting console
- Computer with Bitfocus Companion software installed
Step 1: Install and Launch Companion Software
- Install Companion: If you haven’t installed the Bitfocus Companion software, follow the installation instructions provided in my setup video.
- Launch Companion: Once installed, open the Companion software. If it’s your first time, you might need to configure some initial settings. Usually, it starts a local web server through which the Stream Deck interacts with your computer. Launch the GUI.
Step 2: Establish a Connection
- Open Connections Tab: In the Companion GUI, navigate to the ‘Connections’ tab.
- Add Connection: Click on ‘Add by searching’ and type “GrandMA” to find the appropriate console type you are using (e.g., GrandMA2).
- Input Console Details:
- Enter the IP address of your GrandMA console.
- Input any necessary username and password that your console might require for access. This must be setup on the console side as a remote user.
- Save Connection: Once all details are correctly input, save the connection. A green check mark will indicate a successful connection.
Step 3: Configure Buttons on Stream Deck
- Navigate to Buttons: Switch to the ‘Buttons’ tab in the Companion GUI.
- Create a New Button:
- Click on an empty slot to create a new button.
- Label the button with a descriptive name, like “House Lights 100%.”
- Customize Button Appearance: Adjust font size, text color, and background or add a custom image to visually distinguish the button.
Step 4: Assign Actions to Buttons
- Set Actions:
- Under the button settings, scroll to ‘Actions’.
- Click ‘Add’ and select ‘GrandMA’ from the list of actions.
- Choose ‘Run Custom Command’.
- Enter Command Details:
- In the command field, type the exact command line you would use on the GrandMA console. For example, Go to Executor 1.9 Cue 1.
- You can stack multiple commands in a single button by adding more actions. Use delays between commands if needed (e.g., delay 2000 milliseconds for a 2-second delay between commands).
Step 5: Test and Use Your Setup
- Deploy Commands: Press the configured button on your Stream Deck to see if the GrandMA console responds correctly. Adjustments might be needed based on specific configurations or requirements.
- Operate During Live Events: Use the Stream Deck during live events to control lighting seamlessly from your console, making adjustments as needed.
Conclusion
The Stream Deck, paired with Bitfocus Companion and configured for the GrandMA lighting console, provides a powerful and flexible control interface. It streamlines operations and allows quick changes, making it an essential tool for lighting technicians in live event settings.
By following these steps, you can efficiently integrate this powerful tool into your production setup, ensuring a smooth and professional lighting control experience.


Once the stream deck setup is completed in the Bitfocus Companion software, is it possible to directly connect the stream deck and the grandMA2 console without a computer with Bitfocus Companion software installed? Or do I always need Computer with Bitfocus Companion software installed?