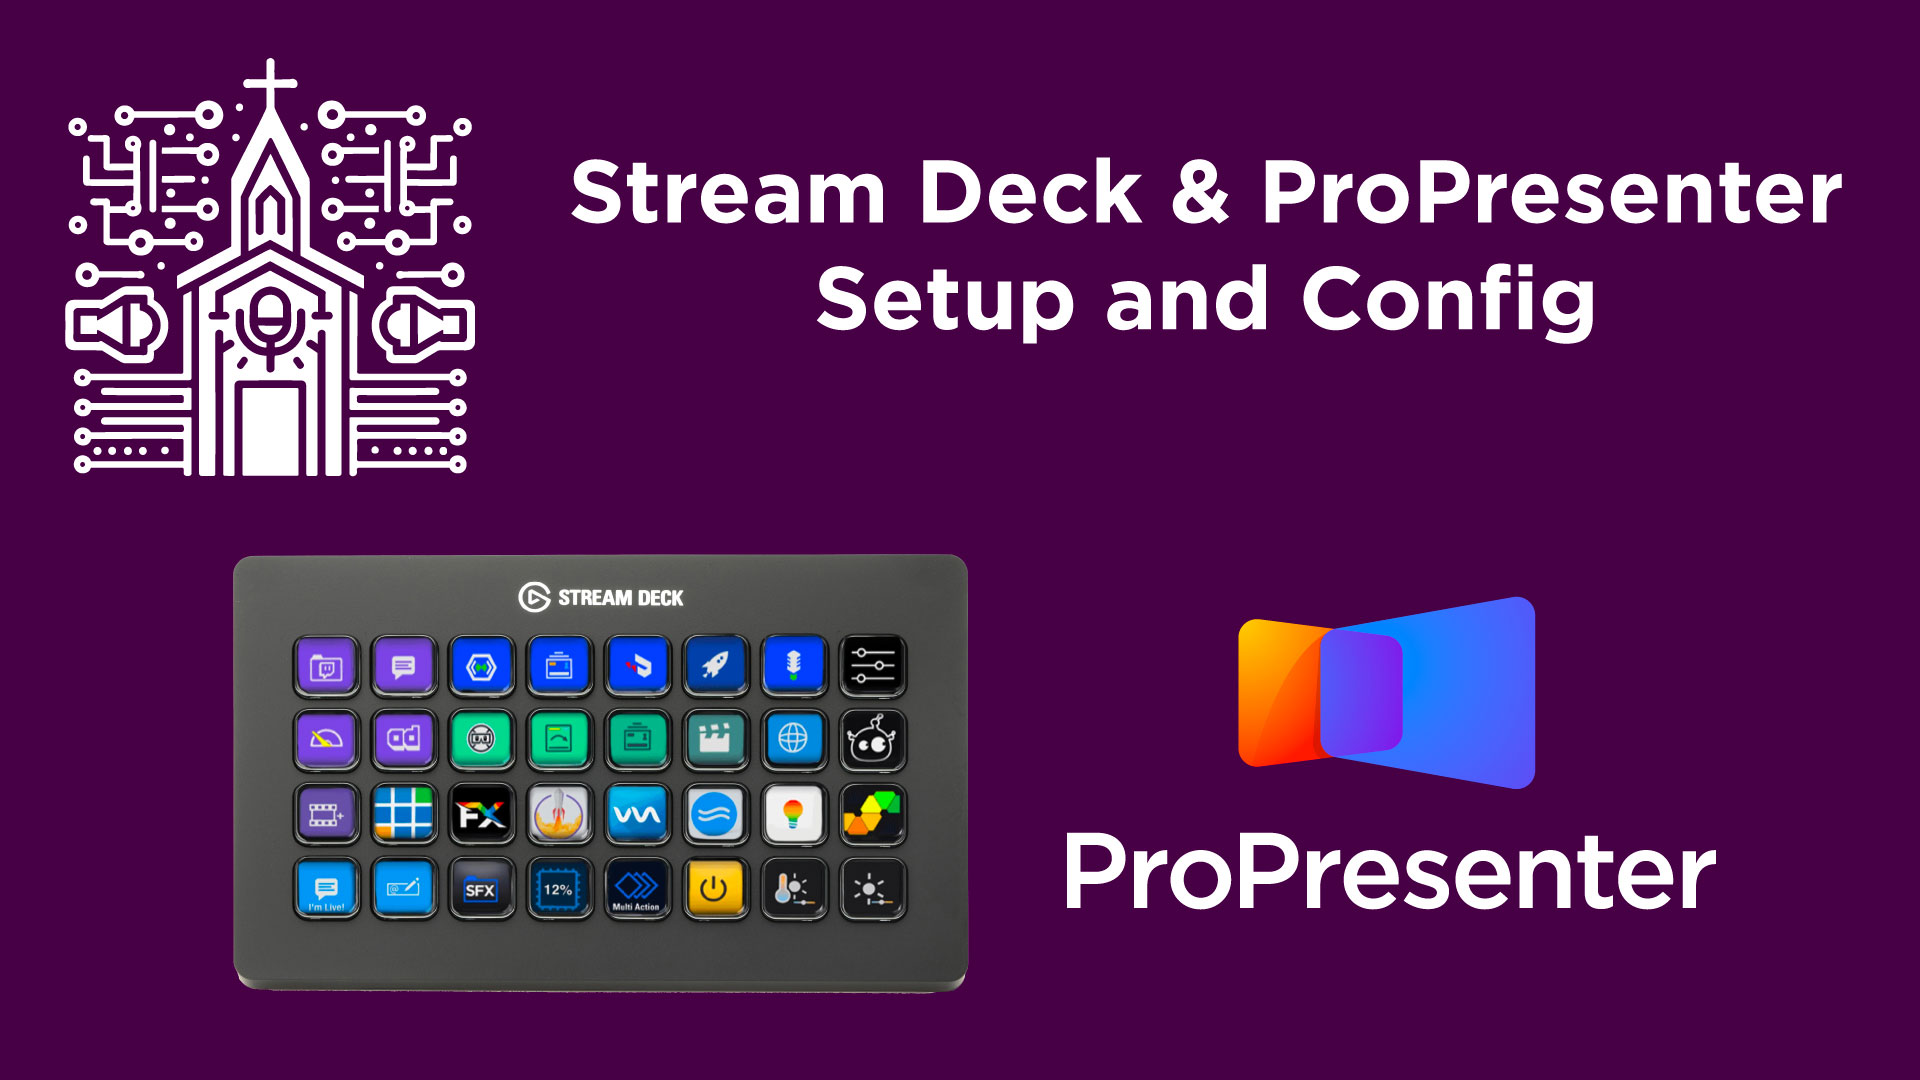
Stream Deck Masterclass: Mastering ProPresenter Control with Companion!
Introduction
In the dynamic world of church worship production, the Elgato Stream Deck, paired with the Bit Focus Companion software, offers an invaluable tool for streamlining the control of multimedia presentations. This guide provides a comprehensive walkthrough on how to set up the Stream Deck to control ProPresenter, a leading presentation software used extensively in worship services and other events.
If you are in need of purchasing a Stream Deck, your support would be amazing at my affiliate links:
🔗 Stream Deck
🔗 Stream Deck XL
Step-by-Step Installation and Configuration Guide
Step 1: Set Up the Companion Software
- Download Companion:
- Visit the Bit Focus website and download the Companion software, which is compatible with the Stream Deck.
- Install the software following the on-screen instructions. I have a complete post on installation here.
- Launch Companion:
- Open the Companion software from your applications folder.
- On first launch, you will be prompted to configure settings. Leave the default settings, ensure it runs at startup, and launch the GUI.
- Connect the Stream Deck:
- Plug your Stream Deck into your computer via USB.
- Companion should automatically detect the Stream Deck. Confirm that it appears under the ‘Surfaces’ tab. If not, there is a scan for USB devices option in the main menu of Companion.
Step 2: Configure ProPresenter Connection
- Enable Network in ProPresenter:
- Open ProPresenter and go to Preferences > Network.
- Enable network functionality, note down the IP address and port, and set a password under the remote control settings.
- Add ProPresenter in Companion:
- In the Companion GUI, navigate to the ‘Connections’ tab.
- Click ‘Add by category’ and select ‘ProPresenter’ from the list.
- Enter the IP address, port, and password you noted from ProPresenter.
- Save the configuration and ensure the status shows a green checkmark, indicating a successful connection.
Step 3: Program Buttons on Stream Deck
- Create a Button for a Countdown Video:
- Go to the ‘Buttons’ tab in Companion.
- Select an empty button slot and click ‘Create Button’.
- Label the button, e.g., “Countdown”.
- Under ‘Press Actions’, add an action from ProPresenter (Cue Specific Slide) to cue the countdown video (specify the playlist and slide number as needed). Please note, the playlist path box, should contain “1:2” where “PlaylistNumber:ItemNumber”. The count starts at 0, playlist 1 is actually playlist number 2. This is explained in the video visually.
- Create additional buttons as needed, such as a ‘Clear All’ Button:
- Select another empty button slot.
- Click ‘Create Button’ and label it “Clear All”.
- Under ‘Press Actions’, add a ‘Clear All’ action from ProPresenter.
Step 4: Test the Configuration
- On your Stream Deck, press the ‘Countdown’ button to start the countdown video in ProPresenter.
- Press the ‘Clear All’ button to stop and clear the video.