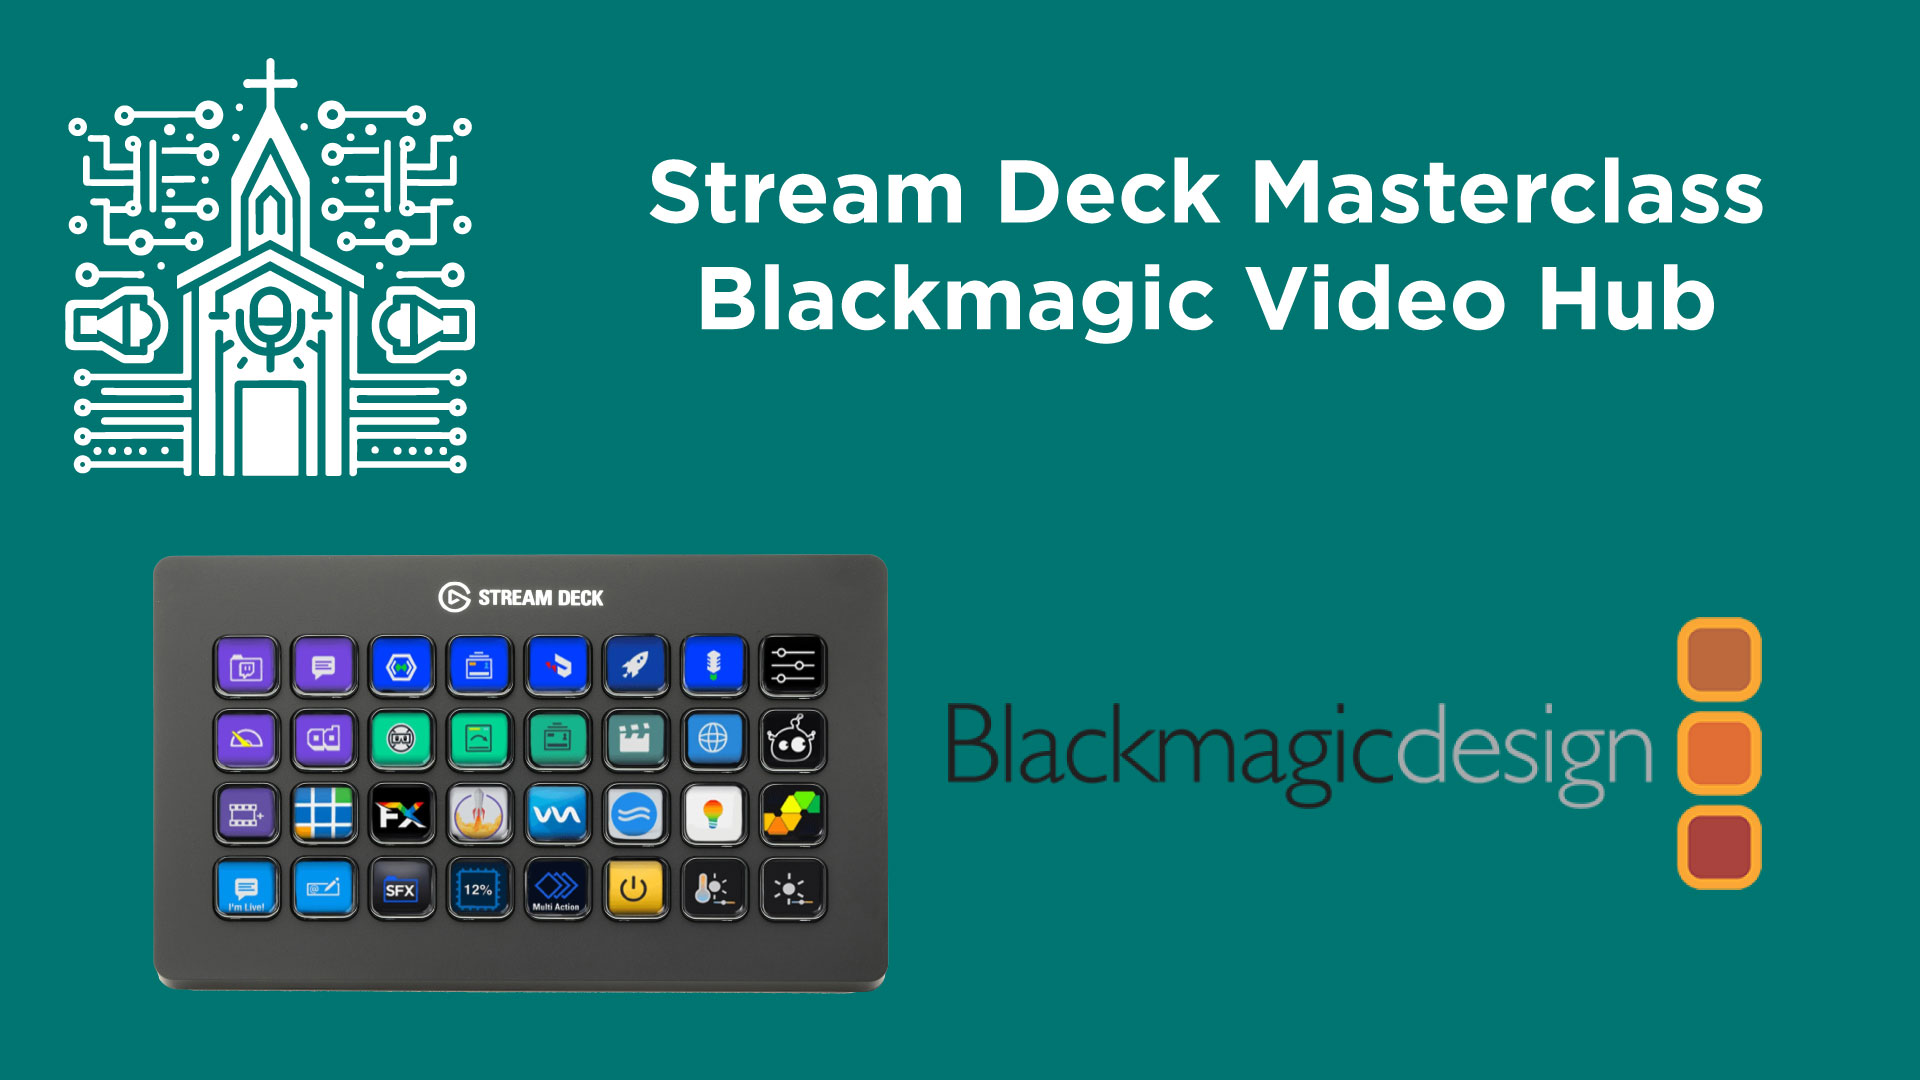
Stream Deck Masterclass: Blackmagic Video Hub and Companion Setup
How to Configure Stream Deck to Control Blackmagic Video Hub: A Step-by-Step Guide
Introduction
The Stream Deck, developed by Elgato, is widely recognized for its versatility and efficiency in streamlining operations across various devices. In this guide, we will explore how to harness the Stream Deck’s capabilities to manage a Blackmagic Video Hub, enabling seamless video routing with the touch of a button. This setup is ideal for environments where rapid changes in video output routing are frequently required, such as in live production settings.
If you are in need of purchasing a Stream Deck, your support would be amazing at my affiliate links:
🔗 Stream Deck
🔗 Stream Deck XL
Step 1: Setting Up Bit Focus Companion
To begin, you will need to install and configure the Bit Focus Companion software, which enhances the Stream Deck’s functionality by allowing it to interface with a wide range of devices, including the Blackmagic Video Hub.
- Download and Install Companion:
- Visit the Bit Focus website to download the Companion software.
- Install the software on the same computer connected to your Stream Deck. A full guide to install can be found here.
- Launch the Companion GUI:
- Open the Companion application.
- Click on ‘Launch GUI’ to open the graphical user interface, necessary for configuring the settings.
Step 2: Adding the Video Hub Connection
Once the Companion GUI is open, you need to add your Video Hub as a connected device.
- Navigate to Connections:
- In the Companion GUI, go to the ‘Connections’ tab.
- Click on ‘Add by searching’ and type ‘Blackmagic’ to find the specific device type.
- Configure Network Settings:
- Select the Blackmagic Video Hub from the list.
- If you know the IP address of your Video Hub, enter it manually. Otherwise, allow the software to scan your network to find the device.
- Click ‘Add’ and then ‘Save’ to establish the connection.
Step 3: Configuring the Stream Deck Buttons
With the connection established, you can now configure the Stream Deck buttons to control the Video Hub.
- Create a Button:
- Go to the ‘Buttons’ tab in the Companion GUI.
- Select an empty button slot on the Stream Deck layout displayed.
- Click ‘Create Button’.
- Program the Button:
- Name your button, e.g., “Cam 1 to Proj 2”, to indicate its function.
- Under ‘Actions’, select ‘Press Action’.
- Choose ‘Video Hub’ and then ‘Route’ as the action type.
- Set Source and Destination:
- Specify the source input (e.g., Camera 1) and the destination output (e.g., Projector 2).
- Optionally, add more actions to the same button for routing multiple sources simultaneously.
- Customize Button Appearance:
- Adjust the font size, text color, and background color.
- Optionally, add an image to visually represent the button’s function.
Step 4: Testing and Usage
After configuring your buttons, test each one to ensure they correctly control the Video Hub as intended.
- Test Each Button:
- Press each configured button on the Stream Deck.
- Verify that the Video Hub routes the video sources to the designated outputs correctly.
- Adjust as Needed:
- If any buttons do not perform as expected, revisit the Companion GUI to adjust the settings.
- Ensure the IP addresses and routing settings are correct.
Conclusion
Configuring your Stream Deck to control a Blackmagic Video Hub can significantly streamline the process of switching video feeds in a live environment. By following these steps, you can enhance operational efficiency and react swiftly to the dynamic demands of live production.
Further Exploration
For users looking to expand their control setup, consider exploring additional capabilities of the Stream Deck such as integrating control for lighting, sound, and other multimedia elements through the Companion software.