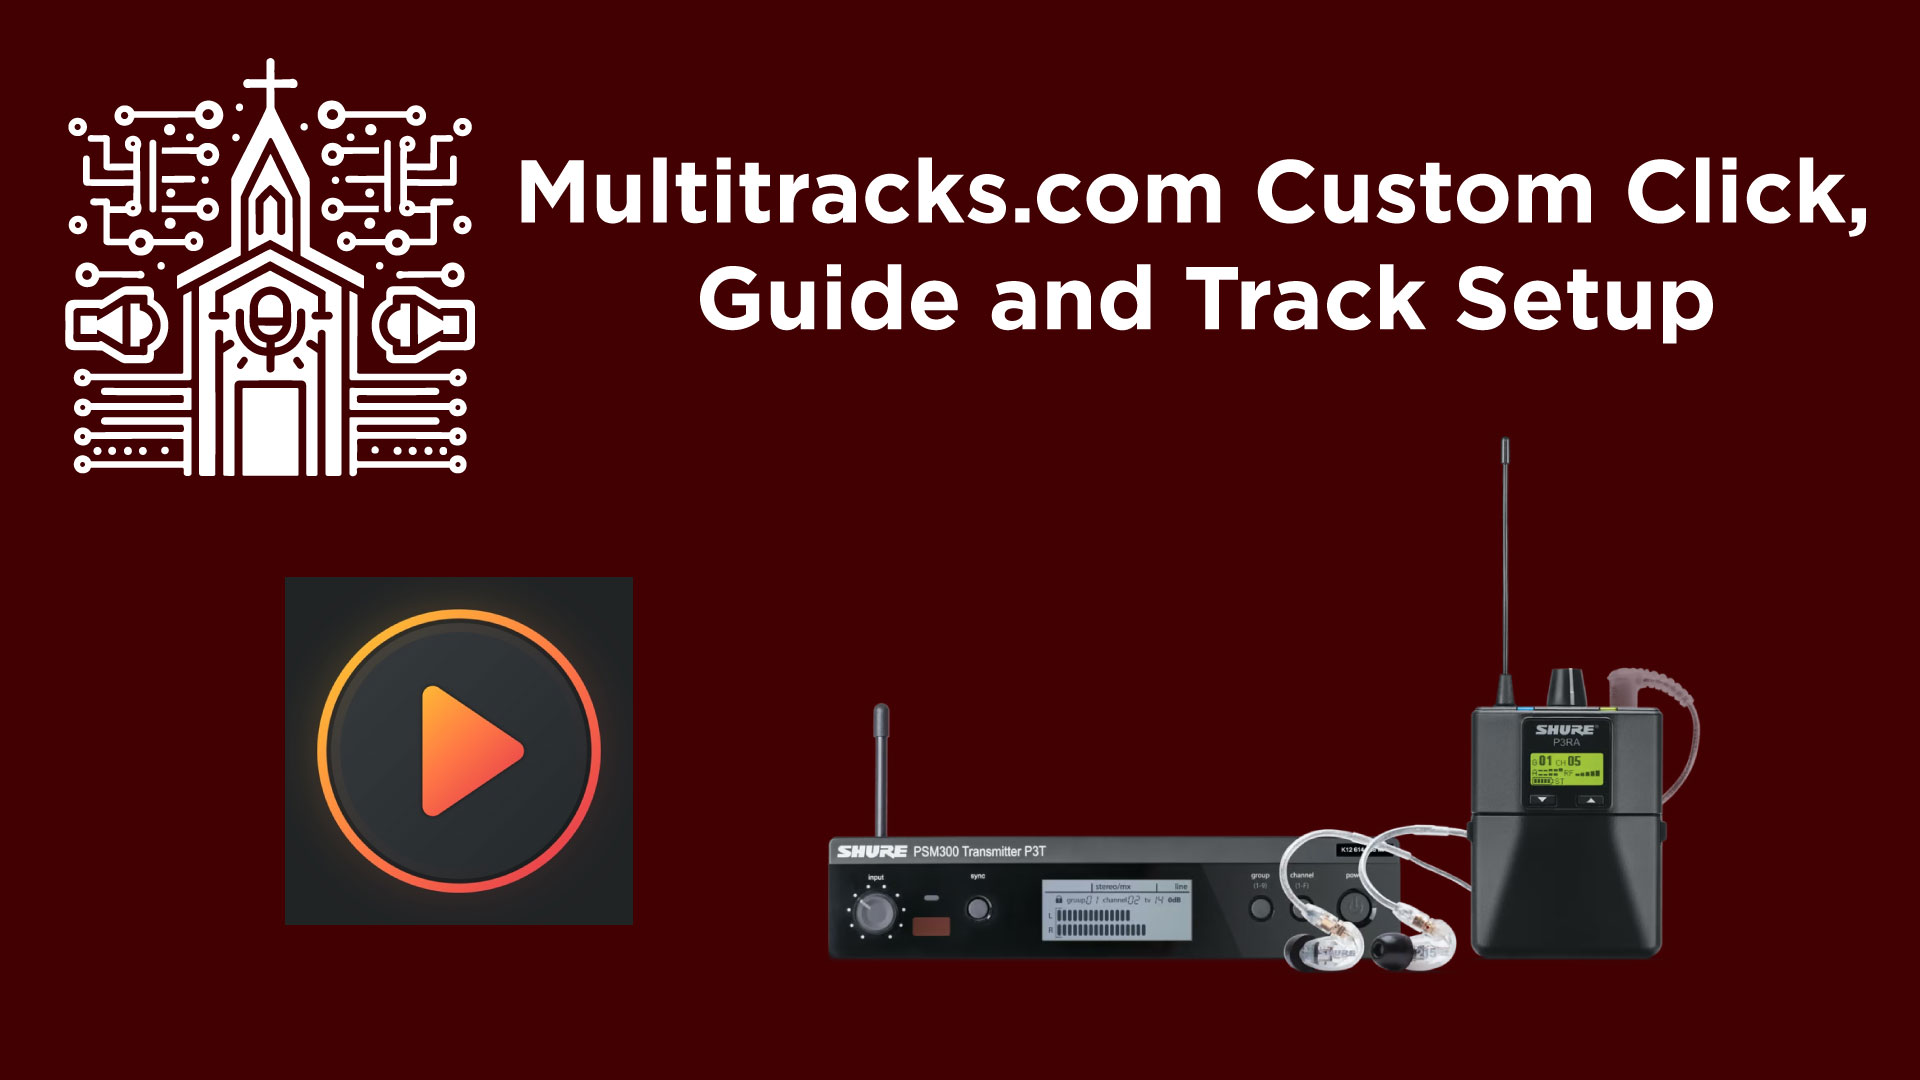
How to Upload Custom Tracks to Multitracks.com Playback: Step-by-Step Tutorial
In this video tutorial, I will guide you through the process of uploading a custom Cloud song to Multitracks.com Playback app. I will use the song “Mercy” by Elevation Worship as an example. This song features a fluctuating click track, which can be challenging for bands to follow due to changes in tempo and pauses. By using Playback, you can maintain a steady click track and guide track to support your band’s performance with a custom uploaded track.
Equipment and Software Needed:
- Computer with internet access
- Digital audio workstation software (e.g., Ableton Live)
- Multitracks.com account
- Playback app
Download Resources for this Video
Download the click, guide, and reference track I used to create this custom cloud song here if you’d like to practice, or use ‘Mercy’ by Elevation Worship and want to have a steady click track with a guide.
Step-by-Step Guide:
Step 1: Prepare Your Audio Files
- Create a Click Track: Use a digital audio workstation (DAW) like Ableton to create a consistent click track at 63 BPM.
- Add Guide Tracks: Import MP3s of the guide (verse, chorus, etc.) into your DAW and align them with the click track.
- Export Tracks: Export the click track and guide track as separate MP3 files. Also, create a reference track and a combined version for rehearsal purposes.
Step 2: Upload to Multitracks.com
- Access Your Library: Log in to your Multitracks.com account and navigate to your library.
- Add a New Song: Click “Add a Song”. When prompted to search for a song, choose to create a new Cloud song.
- Enter Song Details: Input the song name, artist, and other relevant details like key and tempo. For “Mercy”, the tempo is 63 BPM, and the time signature is 4/4.
- Prepare Files for Upload: Compress the click track, guide track, and any additional tracks into a ZIP file.
- Upload Files: Drag and drop your ZIP file into the upload area on Multitracks.com. Assign each track to its appropriate channel (e.g., click, guide, original song).
Step 3: Configure Playback App
- Import the Song: Once your files are processed, import the song into the Playback app.
- Adjust Settings: If necessary, adjust the click track settings in Playback to ensure synchronization with your uploaded tracks.
Step 4: Edit Song Sections (Optional)
- Open Song in Playback: In the Playback app, open the song you just uploaded.
- Add Sections: Manually add song sections like intro, verse, chorus, etc., based on the structure of your guide track.
- Align Sections with Tracks: Use your DAW to precisely identify the start times for each section and input these into Playback.
Resources and Links
- Ableton Live: Official Site
- Multitracks.com Playback: App Link
- Sample Files: Link to download sample files for “Mercy” by Elevation Worship.
Conclusion:
By following these steps, you can successfully upload and configure a custom Cloud song on Multitracks.com’s Playback app, ensuring your band has the necessary audio support for live performances. This setup not only aids in practice with consistent click and guide tracks but also allows for seamless integration of lyrics and light cues during live events.