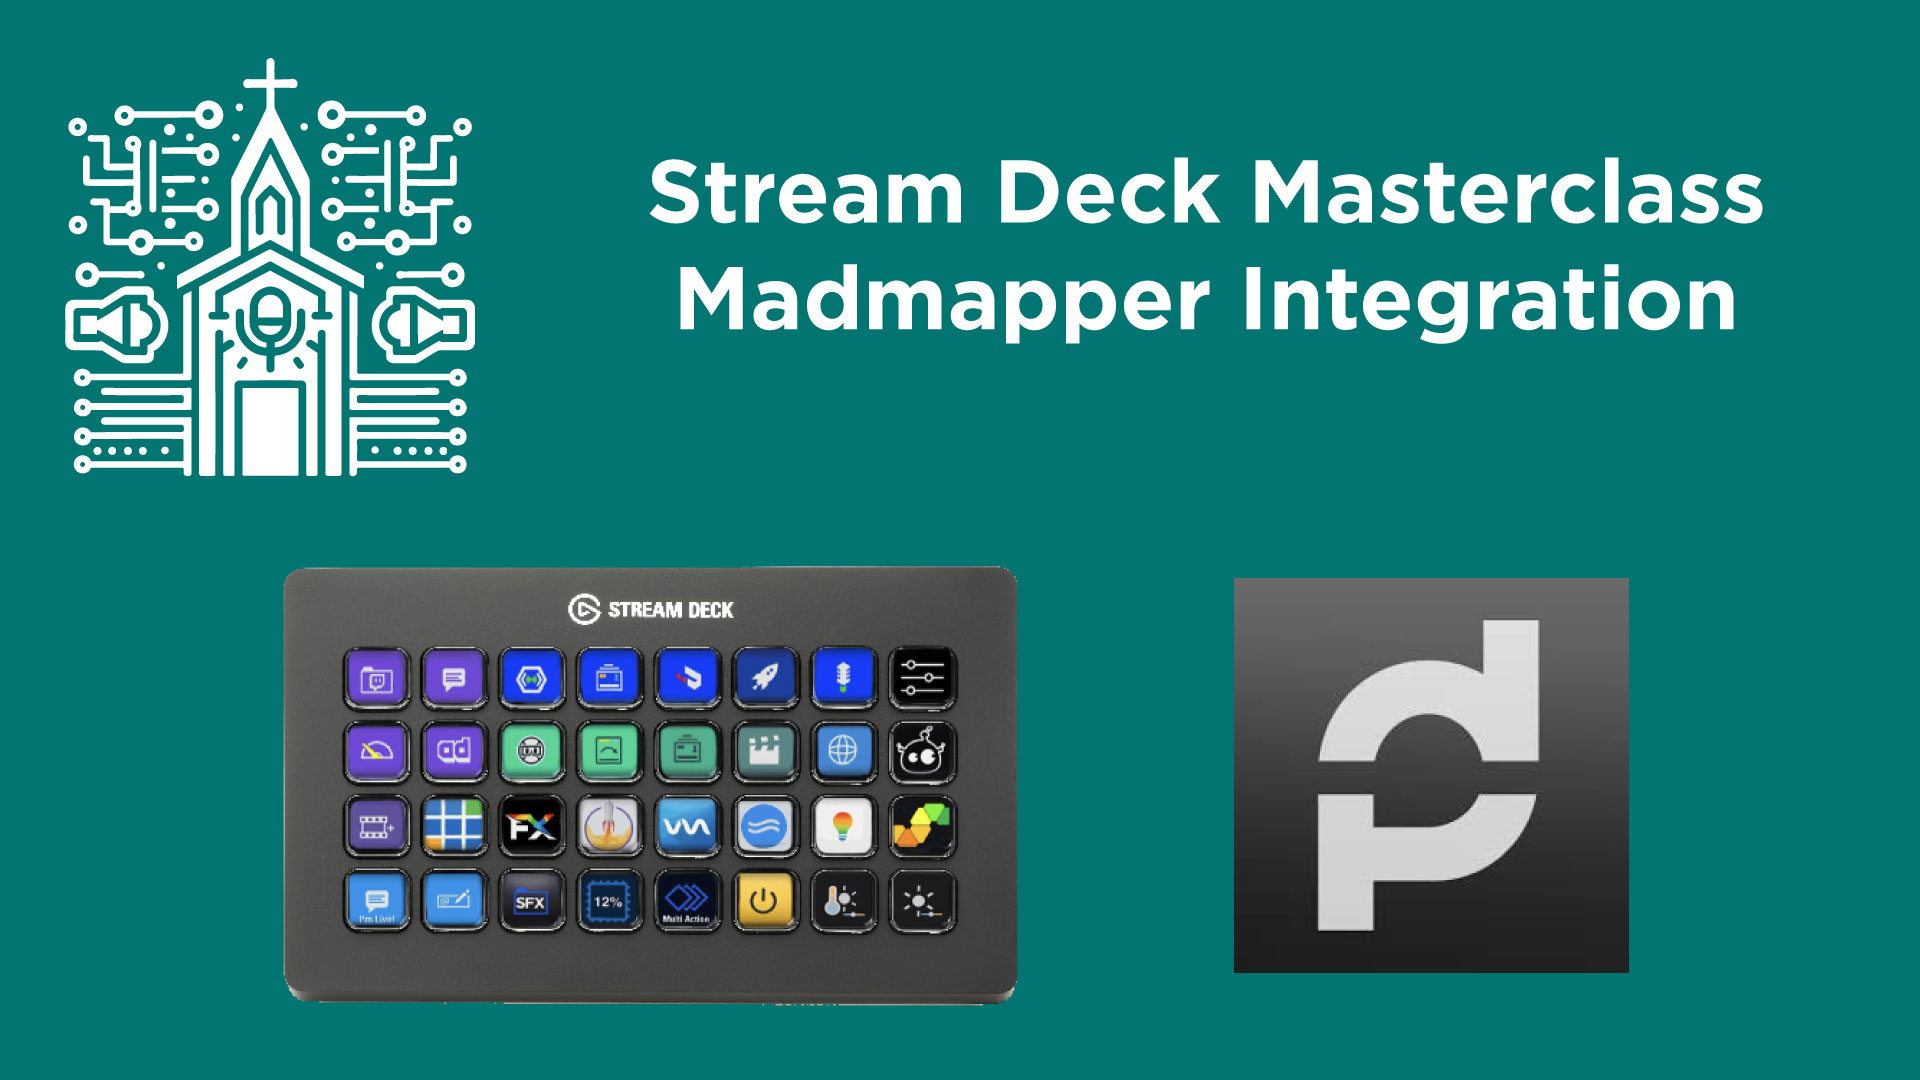
Stream Deck Masterclass: Integrating MadMapper to Control Lights!
Connecting Stream Deck to MadMapper for Lighting Control: A Comprehensive Guide
Introduction: Managing lighting scenes effectively during a live event can significantly enhance the ambiance and viewer experience. Stream Deck, integrated with MadMapper via Bitfocus Companion, provides a powerful solution for triggering light scenes seamlessly. This guide will walk you through setting up Stream Deck to control MadMapper for efficient lighting management.
If you are in need of purchasing a Stream Deck, your support would be amazing at my affiliate links:
🔗 Stream Deck
🔗 Stream Deck XL
Equipment and Software Needed:
- Stream Deck Device – A hardware interface with customizable buttons.
- Bitfocus Companion Software – Used for configuring Stream Deck to send commands.
- MadMapper Software – Utilized for controlling and managing light scenes.
- Computer – Hosting MadMapper and Companion software, with network capabilities.
Step-by-Step Setup Guide:
Step 1: Configure Network Settings
- Ensure that the computer hosting MadMapper is connected to your network and you know its IP address.
Step 2: Install and Setup Bitfocus Companion
- Install Companion: Download and install Bitfocus Companion on the computer if not already installed. I have a detailed tutorial here.
- Launch Companion: Open the Companion software and go to the GUI interface.
Step 3: Add OSC Control in Companion
- Navigate to the “Connections” tab within Companion.
- Click “Add by Category” and select “Generic OSC”.
- Enter the label for your control (e.g., “MadMapper OSC”).
- Set the “Target IP” to the IP address of the computer running MadMapper.
- Set the “Target Port” to match the OSC receiving port in MadMapper (default is 8010 in this setup).
- Click “Save” to finalize the connection settings.
Step 4: Configure MadMapper
- Open MadMapper: Launch MadMapper and go to “Preferences”.
- Set OSC Controls: Navigate to “OSC Controls” and ensure the port number matches the “Target Port” set in Companion (8010).
- Save changes and exit the preferences menu.
Step 5: Create and Configure Buttons on Stream Deck
- Go back to Companion’s GUI and select the “Buttons” tab.
- Choose an empty slot to add a new button.
- Name your button (e.g., “Lights On”).
- Add an OSC action:
- Set the action type to “Send OSC Message”.
- In the “OSC Path”, type the command that MadMapper will recognize (e.g., /osc/worship).
- Ensure there is no delay unless required.
Step 6: Link OSC Command in MadMapper
- In MadMapper, identify the light scene you want to control.
- Right-click on the scene and select “Add Control” > “OSC”.
- Enter the exact OSC path you configured in Companion (e.g., /osc/worship).
- Optionally use the “Learn” function in MadMapper while pressing the configured button on Stream Deck to automatically capture the OSC path.
Step 7: Testing the Setup
- Press the button on the Stream Deck. You should see the corresponding light scene activate in MadMapper. This confirms that the setup is successful.
Conclusion: By following these steps, you have successfully connected Stream Deck with MadMapper using the Bitfocus Companion software. This setup allows you to effortlessly control your lighting scenes during live events, making your productions more dynamic and engaging.
This setup can be expanded by configuring multiple buttons on the Stream Deck, each linked to different lighting scenes or controls in MadMapper, offering you extensive flexibility and control over your event lighting.