ProPresenter Multi-Screen Setup: Live Stream, Band Screen, and Audience All At Once!
In modern church environments, we often need to deliver our content differently to various audiences—whether it’s lyrics for the congregation, a confidence monitor for the worship team, or lower-thirds for a livestream. ProPresenter has robust output capabilities to make this streamlined and professional, but only if you know how to use screen configurations, themes, looks, and macros correctly.
This article is a companion to our in-depth video tutorial on the Technically Church YouTube channel, where we explored how to simultaneously output different visual content from ProPresenter to front-of-house audience displays, livestream overlays, and stage displays—all from one presentation.
Let’s break it all down so you can set this up for your church.
Table of Contents
- Introduction
- What You’ll Need (Quick Note)
- Screen Configuration in ProPresenter
- Theme Creation: Making It Look Good
- Audience Themes
- Lower Thirds Themes
- Stage (Confidence Monitor) Themes
- Using Looks to Apply the Right Themes
- Using Macros to Automate the Process
- Testing & Application in a Service Flow
- Tips, Suggestions, and Use Cases
- Final Thoughts & Next Steps
1. Introduction
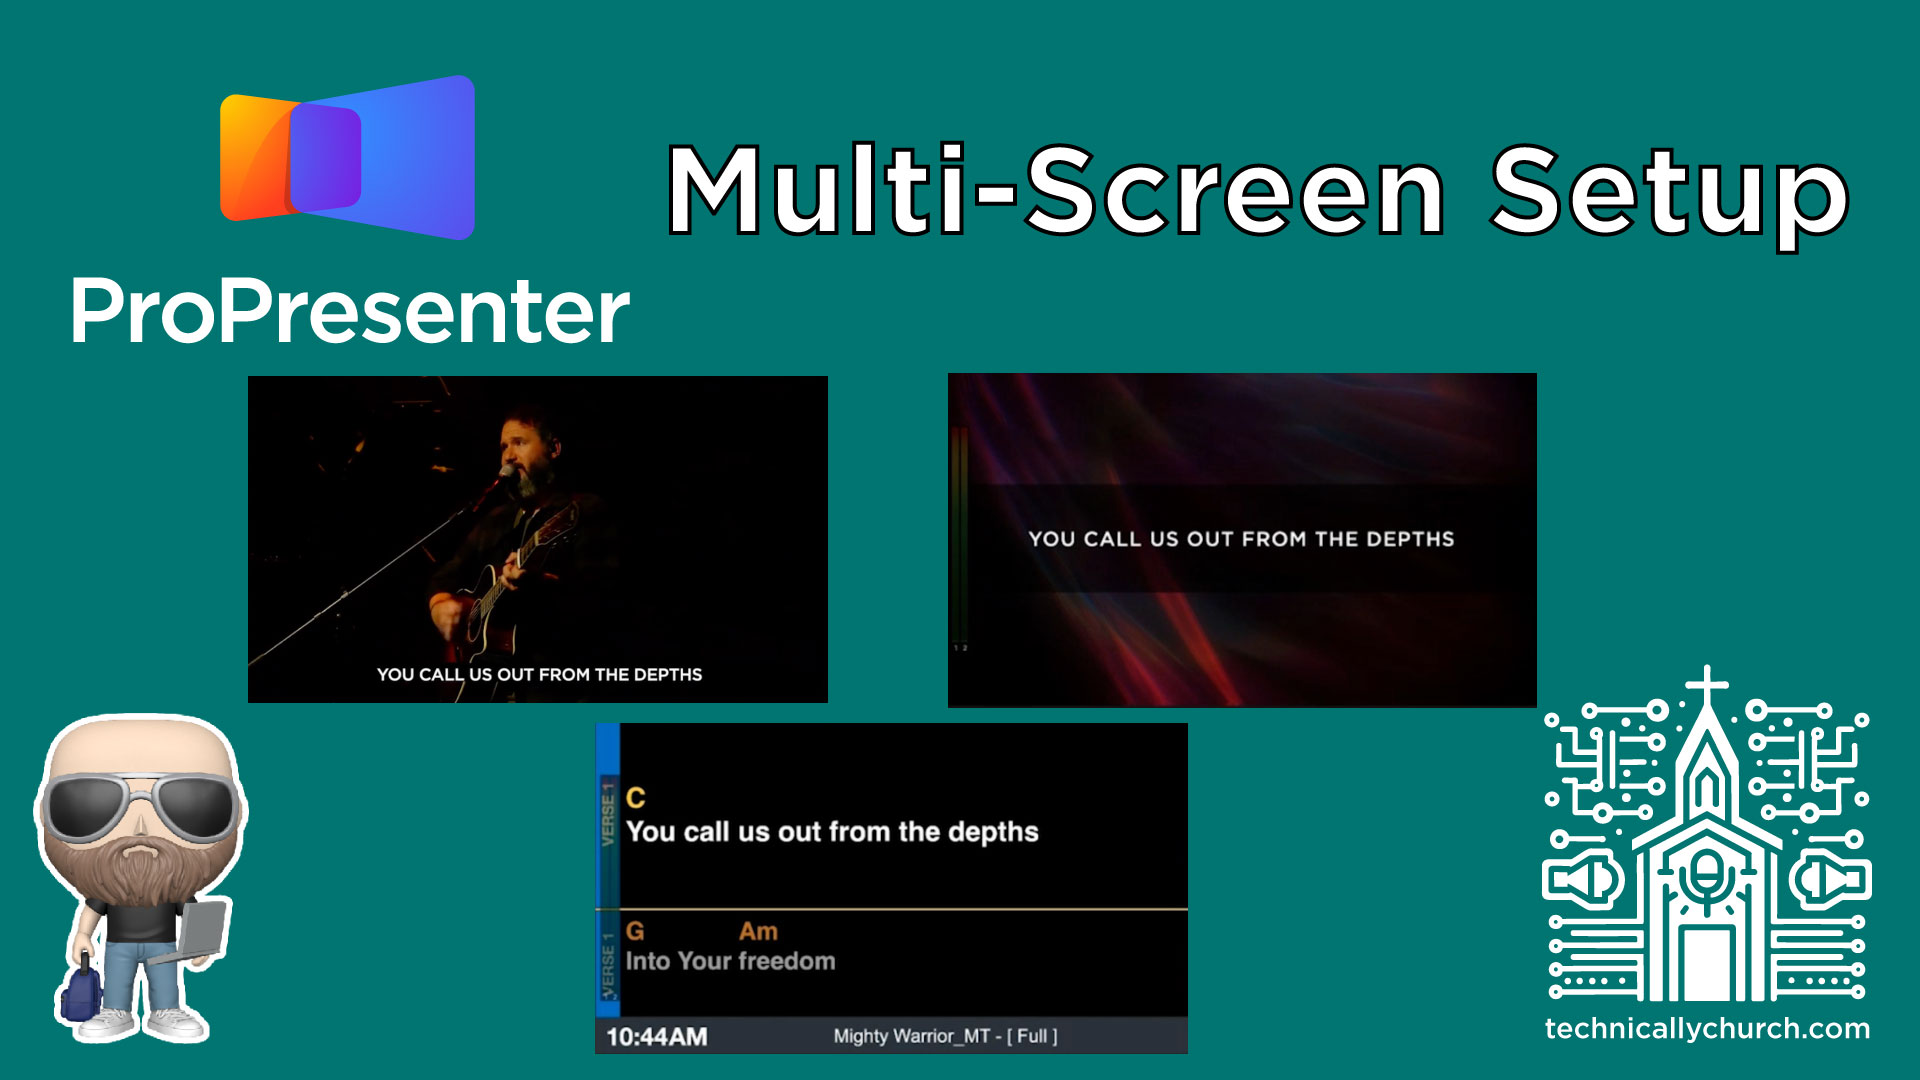
ProPresenter is a powerful tool for multimedia content in worship services. Today we’re focusing on how to output different content to:
- Your audience screens (front TVs or projectors displaying lyrics/content with backgrounds),
- Your livestream (camera paired with lower-third lyrics),
- Your stage display (confidence monitor for musicians including chord charts and song flow).
This multi-output setup makes your worship experience more professional and user-centric without needing separate presentations for each group.
2. What You’ll Need (Quick Note)
While this article focuses on software configuration, it’s critical that your hardware setup supports multiple outputs. In Mike’s tutorial, he uses a Blackmagic DeckLink Duo I/O for this purpose. You’ll also need:
- A computer with suitable GPU capabilities
- ProPresenter 7 or later
- Blackmagic DeckLink or similar with multiple outputs
- Any required converters or input interfaces for your switcher (if livestreaming)
For details on equipment, check out the equipment setup tutorial linked in the original video description.
3. Screen Configuration in ProPresenter
To begin, define each physical or virtual screen in ProPresenter.
Step-by-Step:
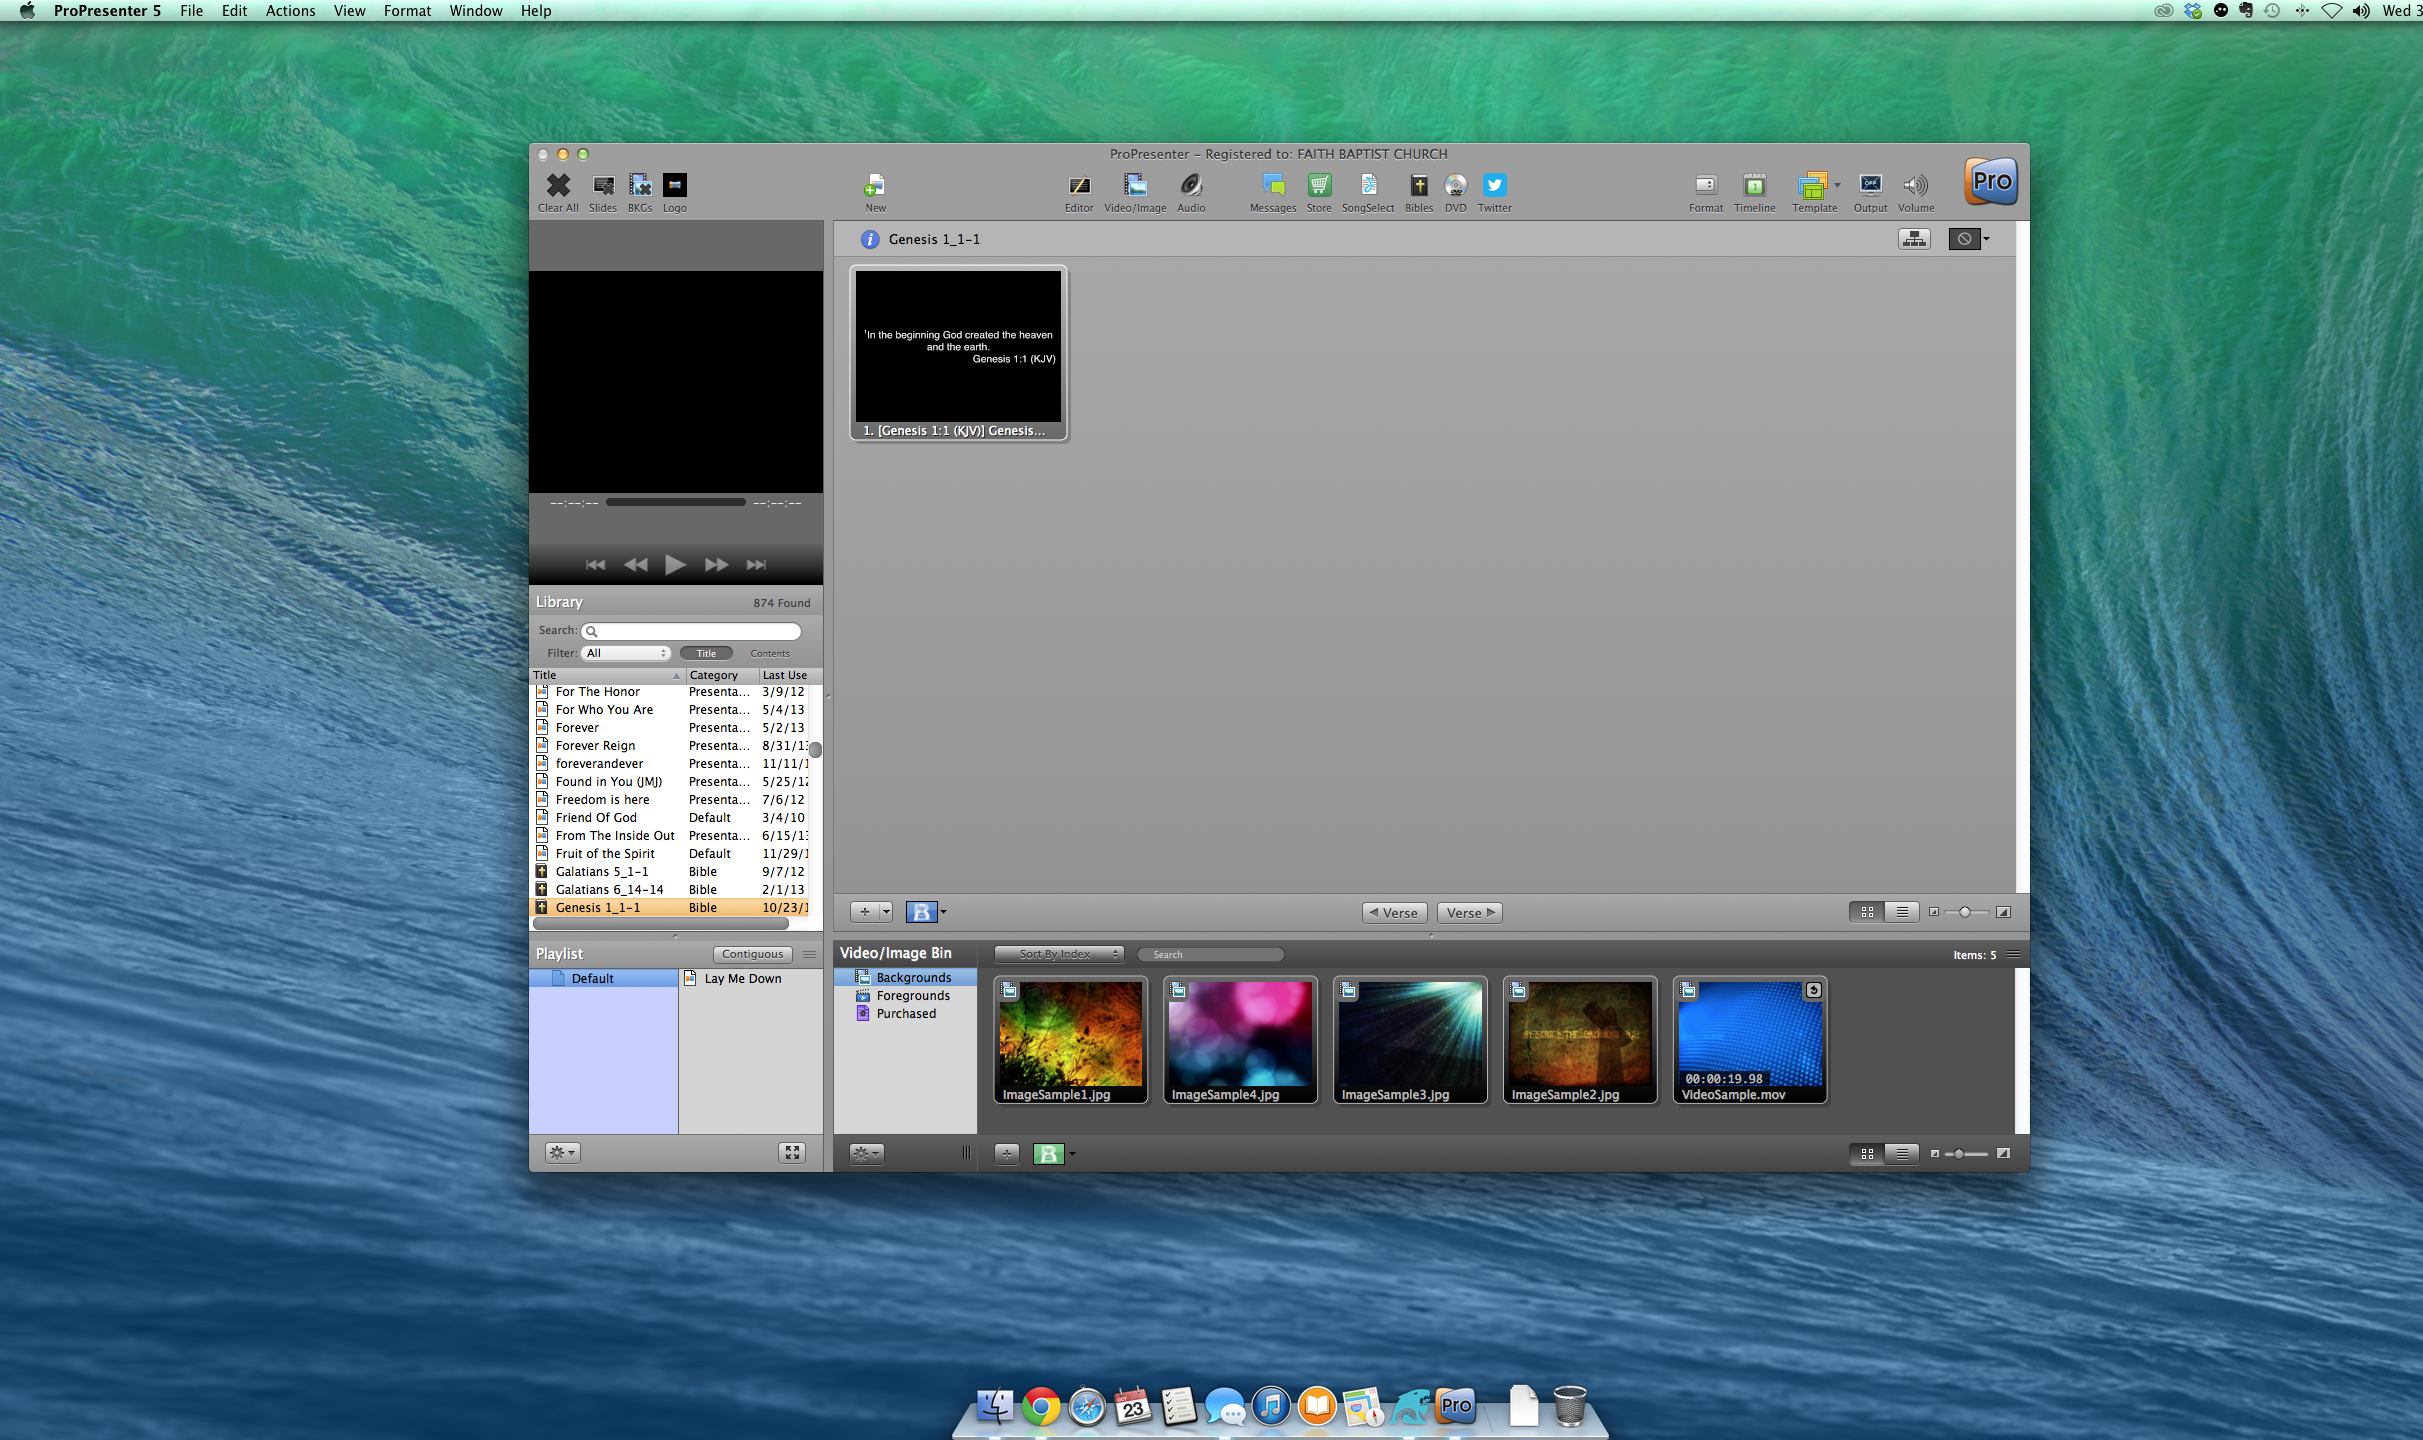
- Open ProPresenter.
- Go to Screens > Configure Screens.
- Click the plus sign to add screens.
- Name your screens appropriately: e.g. “Lower Thirds”, “Projectors”, “Stage Display”.
- Assign each one to a hardware output. For example:
- Output 1 → Lower Third / Alpha Screen
- Output 2 → Audience Projectors
- Output 4 → Stage Display
Important: If using an alpha key for lower thirds, configure two outputs in DeckLink Duo for key and fill. More details on this in the chroma/alpha key tutorial linked on the channel.
4. Theme Creation: Making It Look Good
Now that your screens are configured, you’ll need a theme (visual style) for each screen. Themes dictate where text appears, what font and colors are used, and what backgrounds are shown.
A. Audience Theme
This is what shows on your audience TVs or projectors.
- Go to More > Theme Editor.
- Create a new theme or duplicate an existing one.
- Set a text box:
- Generally centered
- 2-3 lines supported
- Use a semi-transparent black box or shadow for legibility over motion backgrounds.
- Save the theme. Rename appropriately (e.g., “Worship Full”).
B. Lower Third Theme (For Livestream)
Used for placing lyrics at the bottom of your camera feed in an unobtrusive format.
- New theme > Place text box in the lower third of the screen.
- Smaller font size (typically ~24-36pt depending on resolution).
- Use a solid or semi-transparent black box behind the white text to improve readability.
- Save theme (e.g., “Lower Thirds”).
C. Stage Display Theme (Confidence Monitor)
A separate layout for your worship team showing lyrics, chords, timers, etc.
- Go to More > Stage Editor.
- Use prebuilt templates or create a new one.
- Include:
- Current and Next slide text
- Chord charts (if using Multitracks or Planning Center integration)
- Group label (Verse, Chorus, etc.)
- Clock and timer
- Presentation name for reference
Save the layout accordingly.
5. Using Looks to Apply the Right Themes
“Looks” in ProPresenter determine which theme and content layers go to which screen.
Step-by-Step:
- Click the Looks icon (next to the Live button in the top-right).
- Click Edit Looks at the bottom.
- Click the + icon to create a new look (e.g., “Worship Test”).
- For each screen:
- Lower Third/Alpha:
- Slide Layer: ✔️ (text with black box)
- Media Layer: ❌ (no motion background)
- Theme: Select your Lower Third theme
- Projectors:
- Slide Layer: ✔️
- Media Layer: ✔️ (motion backgrounds)
- Theme: Select your audience Worship Full theme
- Stage:
- Not editable here; controlled via Stage Themes and Macros
- Lower Third/Alpha:
Turn off unused layers (i.e., Messages, Props, Video Input) unless required.
6. Using Macros to Automate the Process
Macros automate the process of applying Looks and Stage Themes when clicking a slide—so you don’t have to remember to manually change anything.
Step-by-Step:
- Go to bottom-right Macros tab (M icon).
- Click + to create new macro (e.g., “Worship Start”).
- Right-click the new macro → Add Action:
- Audience Look → Select your “Worship Test” Look.
- Stage Layout → Choose your designed stage theme.
- Slide Destination → Select “Both” (Stage & Audience).
- (Optional): Add Timers, Clear Actions, etc.
- Drag the macro onto the first (blank) slide of any song.
Now every time that first slide triggers, it applies the right content to all outputs.
7. Testing & Application In a Real Service
With screen setup, themes, looks and macros in place:
- Click the macro slide at the start of a song.
- Projector screen: full-screen lyrics with motion background.
- Livestream: camera + lower thirds overlay.
- Stage Display: lyrics + chords + timers for musicians.
You can create different macro/look combinations for:
- Worship Songs
- Sermon Time (custom slides, sermon graphics, Bible references)
- Announcements
- Prayer or Communion sections
This process brings total flexibility to your worship flow without confusion or last-minute configuration during service.
8. Tips, Suggestions, and Use Cases
- ✅ Keep naming conventions clear for screens, themes and macros.
- ✅ Include a macro on every first slide of a song so “looks” don’t bleed from previous items.
- ✅ Use clear-boxes behind text for livestream to ensure readability across all lighting conditions.
- ✅ Customize your stage display for the worship team’s needs—some prefer next line only, others a full chord layout.
- 📣 Consider additional macros like: built-in countdown timers for sermon length, volunteer camera cues via messages, and live stage prompts.
9. Final Thoughts & Next Steps
Taking the time to configure multi-output capabilities in ProPresenter will take your church’s worship experience to the next level—whether you’re in a small building with a couple of TVs or running a multi-camera live production for livestreaming.
While the setup might take a couple of hours initially, once configured, it vastly simplifies week-to-week workflow and enhances the clarity, pace, and professionalism of your services.
If you need help understanding how to set up the video switcher or using chroma/alpha keys with Blackmagic, check out the related tutorials on the Technically Church YouTube channel.
Thanks for reading—now go forth and streamline your production.