Behringer Wing 3.0.5: New Low Cut & High Cut Slope Features Explained
New Features in Behringer Wing Firmware Update 3.0.5: Adjustable Low Cut and High Cut Slopes
The Behringer Wing soundboard is already a robust, feature-packed tool for live sound environments, but with the firmware update to version 3.0.5, it has introduced a new capability that can greatly enhance your control over sound shaping: adjustable low cut and high cut slopes. These new features allow users to fine-tune their frequency adjustments with greater precision than ever before, opening a realm of possibilities for mixing and streaming environments. This tutorial will walk you through how to use these updated features effectively and incorporate them into your workflow.
Breaking Down the New Feature
What Are Low Cut and High Cut Slopes?
In sound design and mixing, low cut and high cut filters allow you to “cut out” or attenuate a portion of frequencies at either end of the audible spectrum.
- Low Cut: Removes or attenuates frequencies below a certain set point.
- High Cut: Removes or attenuates frequencies above a certain set point.
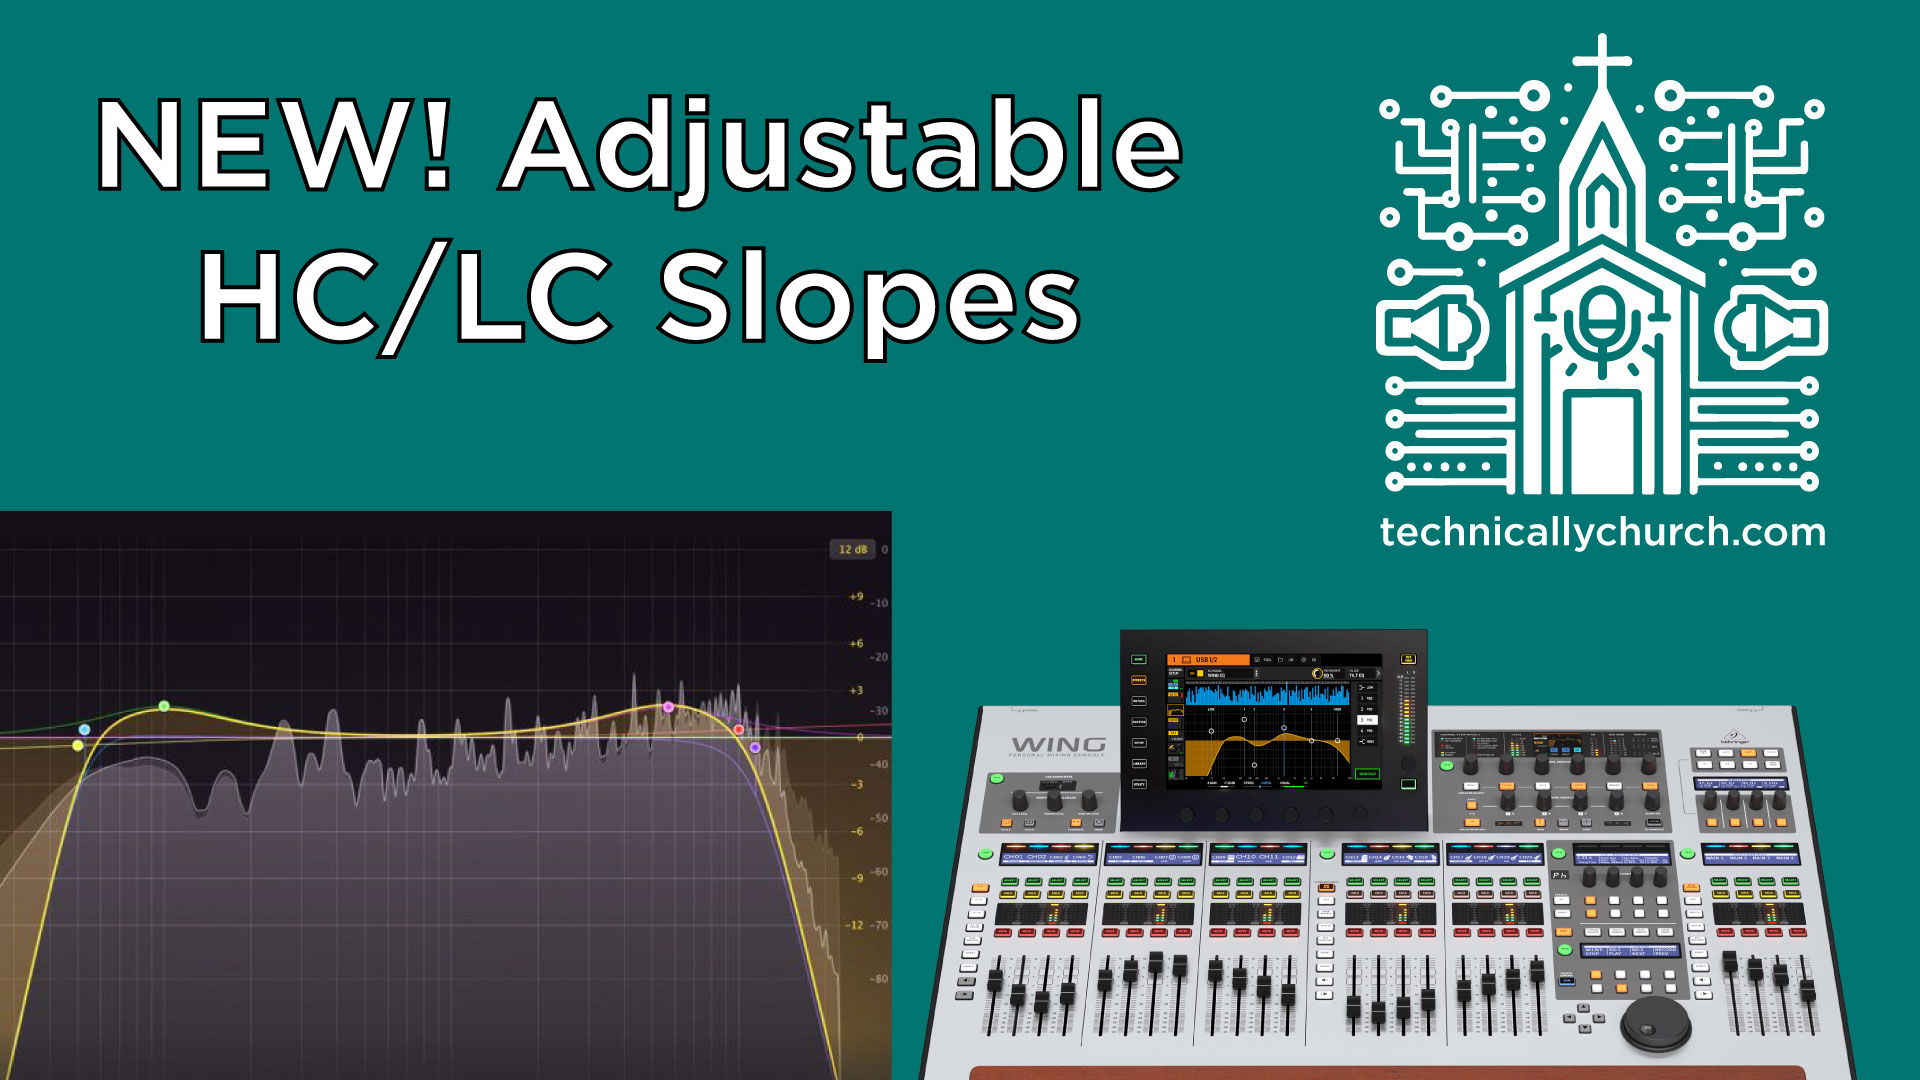
Previously, the Behringer Wing let you set these cut-off points but only featured a fixed slope (rate of attenuation). Now, the slope—specified in decibels per octave, such as 6 dB or 24 dB—can be adjusted to make the filter more or less aggressive. A gentler slope (e.g., 6 dB) creates a gradual transition, while a steeper slope (e.g., 24 dB) makes a more immediate cut.
For example:
- A 6 dB slope would reduce the volume at the target frequency by 6 dB per octave.
- A 24 dB slope cuts 24 dB per octave, creating a tighter and sharper frequency boundary.
Step-by-Step Guide
Step 1: Access the Channel Filter Section
To apply and adjust the low cut and high cut slopes:
- Select the channel you want to modify. For this tutorial, let’s use Channel 1.
- Navigate to the Filter section on the touchscreen interface.
- This section is typically found in the channel settings on the main display.
Step 2: Confirm Low Cut and High Cut Settings
Once in the Filter section:
- Ensure that both Low Cut and High Cut filters are enabled.
- These are highlighted in blue on the interface and will already show your current frequency settings (e.g., 100 Hz for low cut or 6 kHz for high cut), just as you’ve used them in previous firmware versions.
Step 3: Adjust the Slope
- On the right-hand side of your screen, locate the new slope-adjustment options for both filters.
- For Low Cut Slope, select one of the following values: 6, 12, 18, or 24 dB per octave.
- The same applies to the High Cut Slope, though you’ll notice the available options are only 6 or 12 dB.
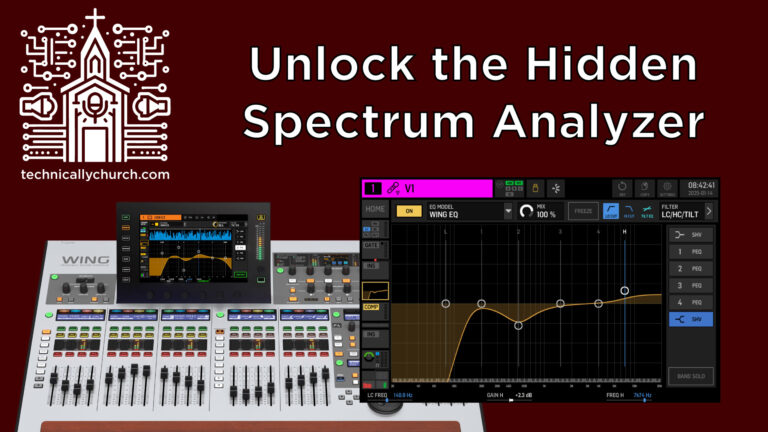
- Tap the slope to select it, and observe the change in the visual representation of the slope on the on-screen EQ graph.
- The curve will adjust dynamically to reflect your selection:
- A 6 dB slope appears as a gradual transition.
- A 24 dB slope will have a much sharper cutoff.
Practical Application Tips
The ability to adjust slopes is a game-changer for several scenarios in live sound mixing:
1. Managing Mic Low-End Rumblings
When dealing with vocal or instrumental microphones that tend to pick up low-frequency noise (e.g., stage rumble, air conditioning hum), applying a steeper low cut slope (24 dB) can more effectively eliminate unwanted noise without overly thinning out the sound.
2. Sculpting a Warm Instrument Tone
For instruments like electric guitars or keyboard pads, use a gentle high cut slope (6 dB) to subtly roll off harsh overtones above 8–10 kHz while preserving brightness.
3. Creating Space for the Mix
If you’re managing a dense mix and need to “carve out” space for critical frequencies, experimenting with different slope values can give you finer control over how frequencies interact. For example:
- Use a 12 dB low cut on backing vocals to clear up room for the lead singer without making the backup harmonies sound “tinny.”
Pro Tip: Combine Filters with Parametric EQ
One powerful aspect of the Behringer Wing is that the Low Cut and High Cut filters operate independently of its 4-band parametric EQ. This means you can:
- Use the filters to set broad frequency boundaries.
- Use the parametric EQ to shape the sound more specifically within those boundaries.
For instance:
- Set a high cut at 6 kHz using a 12 dB slope on a guitar channel.
- Then, use the parametric EQ to boost clarity at 3 kHz or cut muddiness at 500 Hz.
This layering of filters and EQ ensures you’ll have full control over tonal precision while maintaining the integrity of your mix.
Final Thoughts
The updated adjustable slopes for low cut and high cut filters in the Behringer Wing Firmware 3.0.5 bring a new level of surgical precision to sound shaping. Whether you’re streaming live video to the internet, mixing for a live church service, or running sound rehearsal for a worship band, these tools allow you to tailor your mix like never before.
Take the time to experiment with different slope values to hear how they affect the sound. Compare 6 dB vs. 24 dB for various instruments and voices in your mix, and incorporate these filters alongside your EQ for a finely polished sound.

