Stream Deck Masterclass: Control Blackmagic ATEM Switchers Like a Pro!
How to Configure Stream Deck to Control Blackmagic ATEM Video Switchers
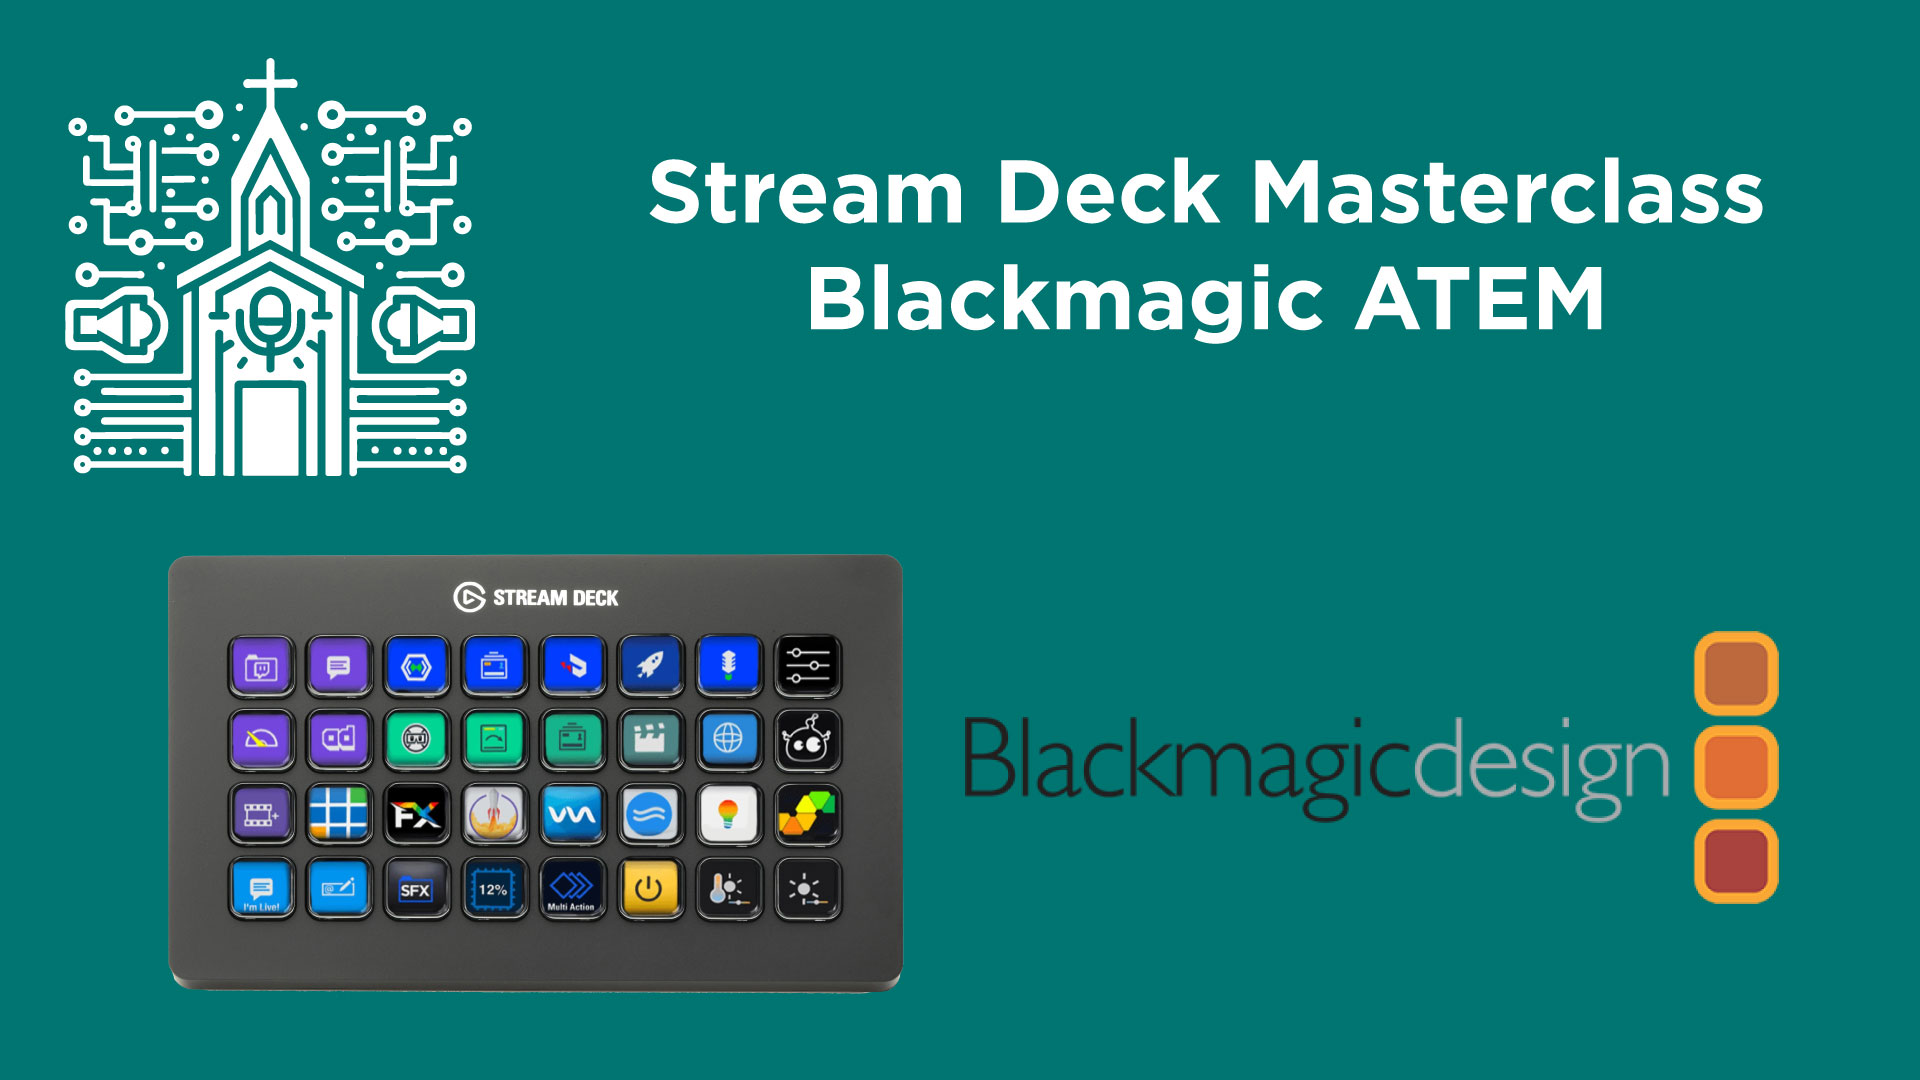
Stream Deck by Elgato is a powerful tool for anyone involved in production, offering a convenient way to control a myriad of devices from a single interface. When paired with the Bitfocus Companion app, Stream Deck can effectively manage devices like Blackmagic ATEM video switchers, enhancing the production workflow significantly. This guide provides a step-by-step process on how to set up a Stream Deck to control Blackmagic ATEM video switchers, making your video production smoother and more efficient.
If you haven’t purchased a Stream Deck yet – you can get it here: Stream Deck XL
Step-by-Step Guide
1. Setup Companion Software:
- First, ensure the Bitfocus Companion software is installed on your computer. This software enhances the Stream Deck’s functionality by allowing it to interface with various devices, including Blackmagic ATEM switchers. I have a detailed guide here.
- Launch the Companion software GUI by clicking on the Companion app running in your system tray and selecting “Launch GUI.”
2. Connect to Blackmagic ATEM:
- Navigate to the ‘Connections’ tab within the Companion GUI.
- Click on ‘Add’ and type “ATEM” to search for the Blackmagic ATEM module, or find it under “Blackmagic Design” in the dropdown list.
- Add the module, and the software will scan your network to find the ATEM switcher. You can manually enter the IP address if the device does not appear automatically.
- Once your ATEM switcher is found and selected, finalize the setup by clicking ‘Save’. A green checkmark will indicate a successful connection.
3. Configure Buttons for Camera Control:
- Switch to the ‘Buttons’ tab in the Companion software.
- Select an empty slot on your Stream Deck layout in the interface to create a new button.
- Assign the button a name, such as “Cam 1”, for camera one.
- Under ‘Press Actions’, set up the desired control function, like “Set Program Input”. This action will trigger the camera to go live when the button is pressed.
- Specify the input number corresponding to your camera setup in the ATEM switcher.
4. Setup Preview and Transition Controls:
- For previews, you can create additional buttons similarly and select “Set Preview Input” as the action.
- To enable transitions such as fades, add a button assigned to “Perform Auto Transition” which triggers the ATEM switcher to execute the transition selected in the switcher’s settings.
5. Feedback Configuration:
- To configure visual feedback (like changing button colors based on active inputs), add feedback actions to each button.
- Under the button’s settings, find the ‘Feedback’ section and configure it to change colors based on the program or preview status. This helps visually indicate which input is live.
6. Additional Controls:
- Similarly, you can set up controls for other functions such as downstream and upstream keyers, configuring aux output, or any specific function your ATEM switcher supports.
Conclusion
By following these steps, you can effectively turn your Stream Deck into a powerful control unit for Blackmagic ATEM video switchers. This setup not only makes switching operations seamless but also enhances your ability to manage live productions more efficiently.

