Understanding the High Cut Filter on the Behringer Wing
When working with the Behringer Wing digital mixer, understanding how to use EQ filters effectively can greatly enhance your audio mixing. One of the key features available within the filter section is the high cut filter. Some other mixing consoles refer to this as a low-pass filter, but on the Behringer Wing, it is labeled as high cut.
What is a High Cut Filter?
The high cut filter is designed to remove all frequencies above a certain point, allowing only the frequencies below that point to pass through. This is useful in a variety of applications, such as:
- Reducing unwanted high-frequency noise in a signal.
- Shaping synthetic sounds or instruments so they don’t overpower a mix.
- Smoothing out vocals or instruments that have excessive brightness.
- Creating warm-sounding mixes by rolling off harsh high-end frequencies.
Locating the High Cut Filter on the Behringer Wing
To apply the high cut filter, follow these steps:
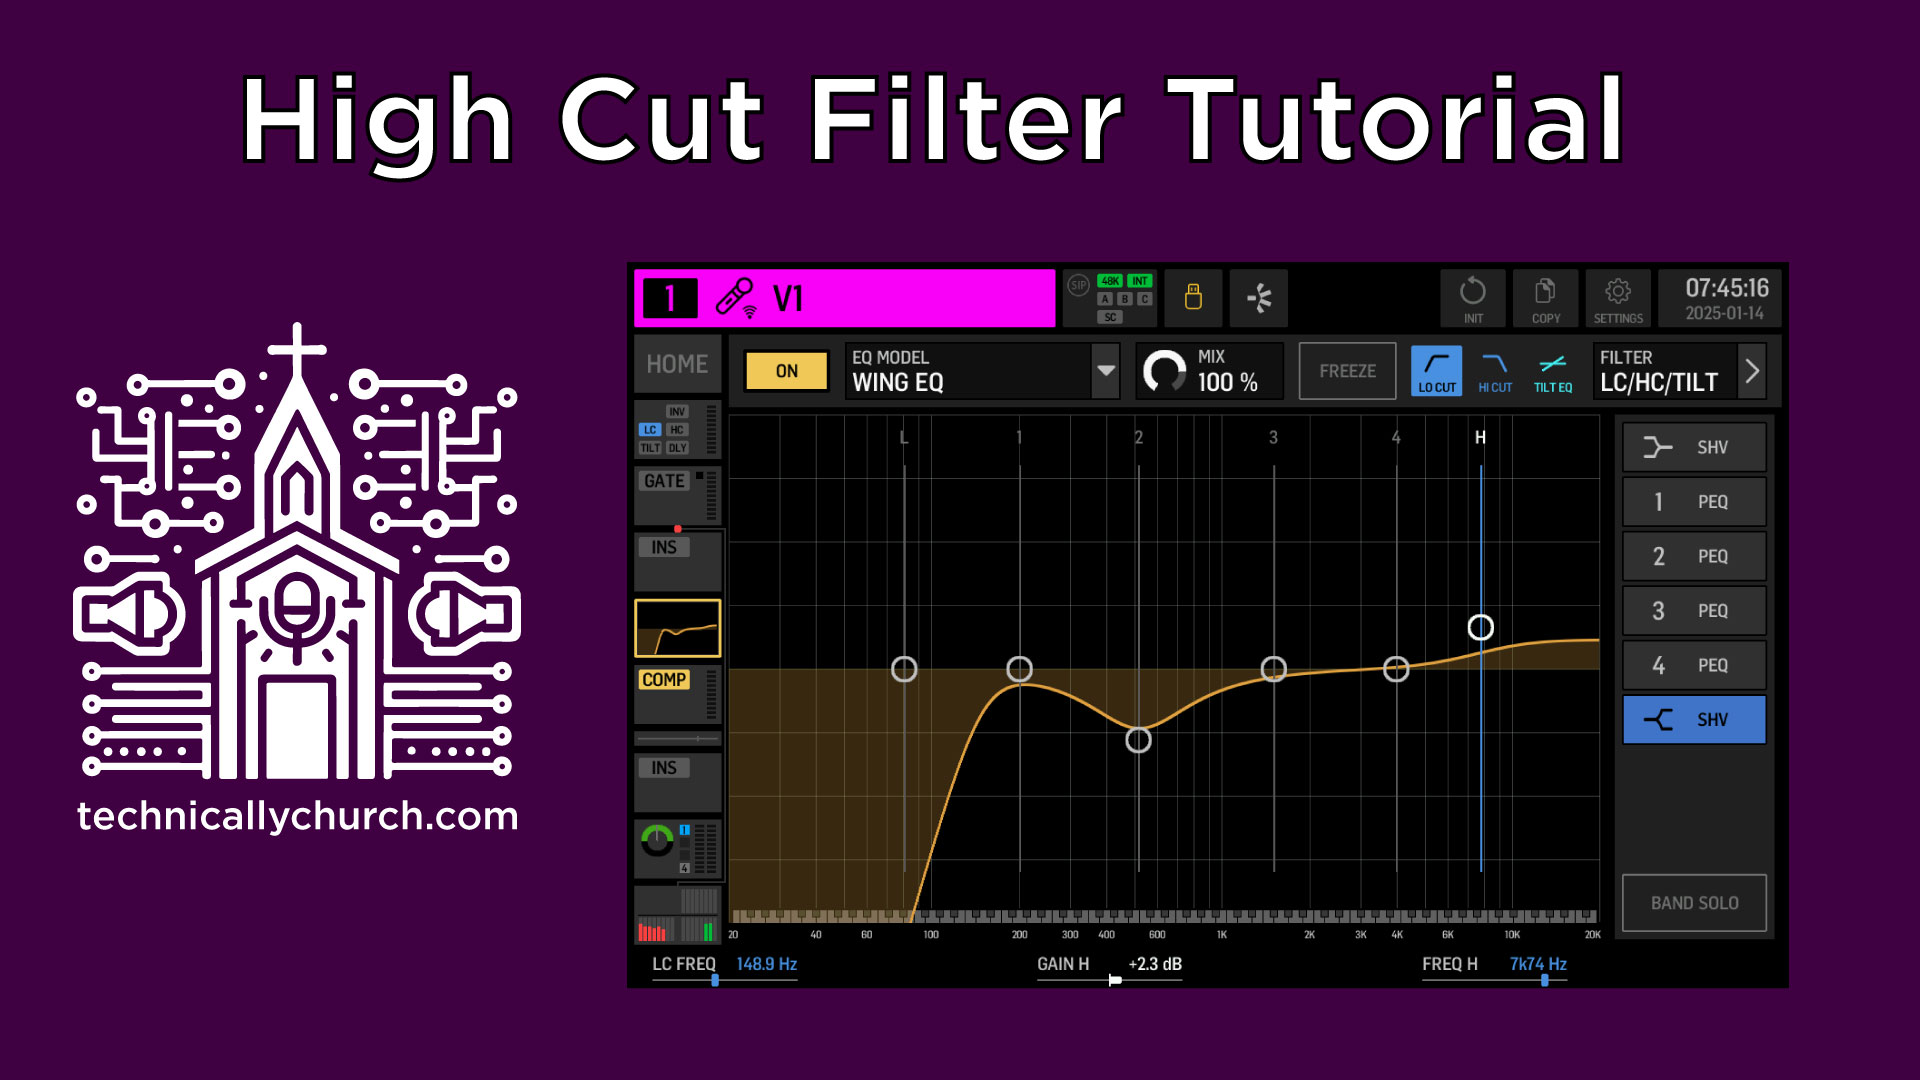
Navigate to the Filter Section
- On the Behringer Wing touchscreen, locate the “Filter” section.
- Here, you will see controls for both low cut and high cut.
Enable the High Cut Filter
- Turn on the high cut filter by selecting it on the display.
Adjust the High Cut Frequency
- Once the high cut filter is activated, go to the Equalizer (EQ) section.
- Look for the high cut frequency control under CoderNab.
- Adjust this control to set the frequency where the high cut will take effect.
- Visualizing the High Cut in the EQ Display
- As you adjust the high cut frequency, you will see a sloping curve on the EQ graph.
- For example, if you set the high cut filter at 2 kHz, the curve begins at 2 kHz, and everything above that frequency is gradually removed.
High Cut Use Cases
Here are a few scenarios where you might use the high cut filter:
- Removing excessive brightness from a vocal microphone – If a vocal is too piercing or sibilant, a high cut at around 8 to 10 kHz can help smooth it out.
- Reducing harshness in cymbals or hi-hats – If the high frequencies of cymbals are too aggressive, a high cut at 12 to 14 kHz can help tame them.
- Shaping bass instruments – Sometimes, you can remove unnecessary highs from a bass guitar or kick drum by setting a high cut around 4 to 7 kHz.
- Creating a “radio voice” effect – If you’re going for a warm, vintage radio sound, you can set a high cut as low as 3 to 5 kHz to remove high-frequency details.
Conclusion
The high cut filter on the Behringer Wing is a powerful tool for shaping sounds and cleaning up mixes. By properly using it, you can remove unwanted high-frequency content, enhance the clarity of a mix, and achieve a more balanced sound. Whether you’re mixing for live sound or recording, knowing how to apply the high cut filter effectively will help take your mixes to the next level.