Automate Waves Auto-Tune Key Changes with the Behringer Wing and SuperRack Performer
Hello everyone, and welcome to the tutorial. As a live sound engineer in a dynamic worship environment, my goal is always to reduce manual tasks during a service so I can focus on what truly matters: the mix. One of the most tedious and error-prone tasks used to be changing the key of our vocal Auto-Tune plugins between every song. Forgetting this step or choosing the wrong key can create some very noticeable and unpleasant artifacts.
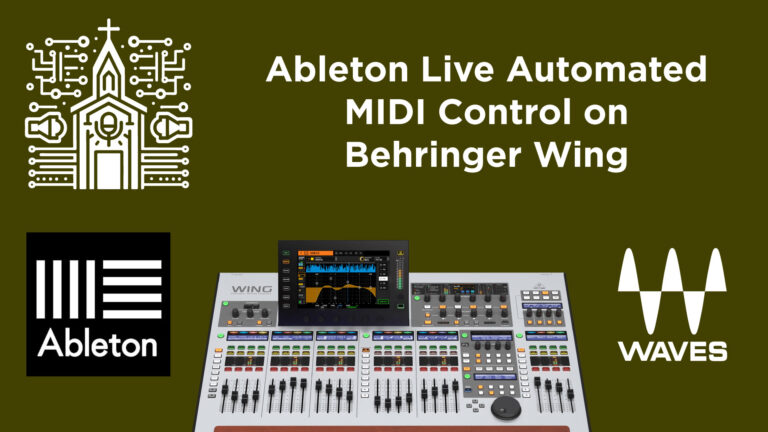
Today, I’m going to show you my complete, automated workflow for changing Waves Auto-Tune keys using the power of the Behringer Wing’s show control and MIDI to command Waves SuperRack Performer.
Who Is This Guide For?
This is an advanced tutorial that builds upon several core concepts. To get the most out of this guide, it’s assumed that you already have a working knowledge of the following:
- Waves Plugins & SuperRack Performer: You understand how to set up and use Waves plugins within the SuperRack Performer host environment.
- Behringer Wing Show Automation: You are comfortable creating Shows, Snapshots, and Snippets on the Wing to automate console parameters.
- Wing to SuperRack MIDI Connection: You have successfully established a MIDI connection between your Wing console and the computer running SuperRack. Without this fundamental link, the two systems cannot communicate.
If you’re not yet familiar with these topics, I recommend checking out my other tutorials covering these setups first. This guide will focus on integrating these systems for our specific Auto-Tune goal.
The Goal: One Button, Perfect Tuning
The objective is simple: when I load the snapshot for “Song 1” on the Behringer Wing, I want SuperRack to automatically change the key of Waves Auto-Tune on all my vocal channels to the correct key for that song (e.g., C Major). When I fire the next song’s snapshot, it should automatically switch to the new key (e.g., A Major) without any manual intervention from me.
Let’s dive into how we make this magic happen. The process is broken into two main parts: configuring SuperRack to receive commands, and programming the Wing to send them.
Part 1: Configuring Waves SuperRack Performer
First, we need to prepare SuperRack to handle the incoming commands. This involves creating a “snapshot” for each song’s specific key and then mapping those snapshots to be triggered by MIDI.
Step-by-Step Instructions:
Step 1: Set Up Waves Auto-Tune on Your Vocal Channels
In your SuperRack session, ensure you have an instance of Waves Auto-Tune (or a similar tuning plugin like Waves Tune Real-Time) inserted on each of your vocal channels. For this example, I have six vocal channels, and Waves Auto-Tune is in the second plugin slot (Slot 2) on each.
Step 2: Create a SuperRack Snapshot for Each Song
This is where we store the key settings. We’ll create a unique snapshot for every song in your setlist.
- In the SuperRack “Show” panel on the left, make sure you are on the Snapshots tab. Create new snapshots and name them descriptively, like “Song 1,” “Song 2,” etc.
- Select the “Song 1” snapshot to begin programming it.
- Open the Waves Auto-Tune plugin on your primary vocal channel (e.g., Channel 1).
- Set the Scale and Key to match your first song. For our example, let’s say Song 1 is in D Major.
- Critical Time-Saver: Use the “Send to All” feature within the Auto-Tune plugin interface. This will copy your D Major setting to every other instance of Auto-Tune in your session instantly. This saves you from having to manually change the key on all six vocal channels.
- With the key now set correctly across all channels, Store the “Song 1” snapshot by clicking the store button or using the shortcut. This saves the current state of the plugins to that snapshot.
- Repeat this process for every other song. Select “Song 2,” set its key (e.g., F Major), use “Send to All,” and Store the snapshot. Continue until all your songs have a corresponding snapshot with the correct key stored.
Step 3: Define the Snapshot Scope (Crucial for Reliability)
We only want these song snapshots to change the Auto-Tune key. We don’t want them to accidentally overwrite other plugin settings, like a compressor threshold you might have adjusted on the fly. We do this by defining the “Scope” of the snapshots.
- In the SuperRack Snapshots view, you will see options for defining the scope.
- Narrow the scope down to exactly what you want to change. In my case, I set the scope to:
- Racks: Only racks 1 through 6 (my vocal channels).
- Plugins: Only plugin slot 2 (where Auto-Tune lives).
- By doing this, you are telling SuperRack: “When I recall these specific song snapshots, only update the parameters of the plugin in Slot 2 on channels 1-6. Ignore everything else.” This is a powerful feature that prevents unwanted changes and keeps your automation clean.
Step 4: Map Snapshots to User Keys
Think of User Keys in SuperRack as internal hotkeys. We will assign each of our song snapshots to a unique User Key.
- Navigate to Setup > Settings.
- Go to the User Keys tab.
- Assign your snapshots to the User Keys. For example:
- User Key 1 > Recall Snapshot > 1: Song 1
- User Key 2 > Recall Snapshot > 2: Song 2
- …and so on.
Step 5: Assign MIDI Notes to Trigger User Keys
This is the final piece of the puzzle inside SuperRack. We need to tell it which MIDI message will trigger each User Key.
- Navigate to Setup > Audio Setup.
- Under the MIDI section, find your MIDI controller settings.
- Here, you will map a specific MIDI note to each User Key. You can choose any notes you like, but be systematic. For example:
- User Key 1 is triggered by MIDI Note C-1.
- User Key 2 is triggered by MIDI Note C#-1.
- User Key 3 is triggered by MIDI Note D-1.
- Keep a record of which note corresponds to which song. We will need this information for programming the Behringer Wing.
SuperRack is now fully configured. It’s listening for specific MIDI notes, and when it receives one, it will recall the corresponding snapshot, which in turn changes the key on all your Auto-Tune plugins.
Part 2: Programming the Behringer Wing
Now we’ll move over to the console and create the MIDI commands that will be sent to SuperRack. We’ll use the Wing’s powerful Show Control to make this happen automatically when we change songs.
Step-by-Step Instructions:
Step 1: Create MIDI Snippets
In the Wing’s show file, we’ll create a small snippet for each song whose sole purpose is to send one MIDI command.
- Go to your Show > Snippets library.
- Create a new snippet and name it something clear, like “SuperRack – Song 1”.
- In this snippet, add a MIDI command that sends a Note On message.
- Configure the message to match what you set in SuperRack. For Song 1, this would be Note C-1. Ensure you are sending it out of the correct MIDI port that is connected to your SuperRack computer.
- Create a separate snippet for each song, using the corresponding MIDI note you assigned in the previous section (C#-1 for Song 2, D-1 for Song 3, etc.).
Step 2: Link Snippets to Your Song Snapshots
The final step is to tell the Wing to fire these MIDI snippets automatically when you recall your main song snapshots.
- Go to your Show > Snapshots list on the Wing.
- Select your “Song 1” snapshot.
- Use the Auto Link feature to link the “SuperRack – Song 1” snippet to this snapshot.
- Repeat for all other songs, linking the appropriate MIDI snippet to each song snapshot.
The Final Result
With this setup complete, your workflow is now incredibly simple and robust.
Let’s say SuperRack is currently on “Song 4,” and the Auto-Tune key is set to G Major. On your Behringer Wing, you simply cue up “Song 1” in your show list and hit the GO button.
Here’s the chain reaction you just triggered:
- The Wing recalls the “Song 1” Snapshot, changing any console parameters you’ve saved.
- Simultaneously, the auto-linked “SuperRack – Song 1” snippet is fired.
- The snippet sends a MIDI Note On command for C-1 to SuperRack.
- SuperRack receives the C-1 note, which triggers User Key 1.
- User Key 1 recalls SuperRack Snapshot “Song 1.”
- The Auto-Tune plugins on all your vocal channels instantly change to D Major.
All of this happens in a fraction of a second, all from a single button press. You can now advance through your entire setlist, hitting NEXT and GO on the Wing for each song, confident that your vocal tuning key is changing perfectly in sync. This is the power of automation, freeing you up to mix creatively without getting bogged down in manual, repetitive tasks. Hopefully, this helps you streamline your own worship service workflow