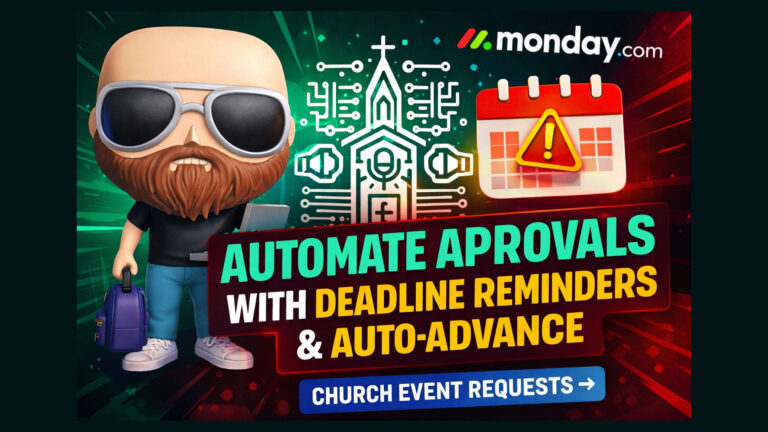
Automating Sub-Items in monday.com to Improve Project Workflow in Church Communications
Managing multiple events, campaigns, and creative content requests in a church can quickly become overwhelming. If you lead a communications team—like I do at our church—it’s essential to have systems that can change and scale with your needs. I use monday.com extensively for this purpose, and one of the most powerful tools it offers is automation.
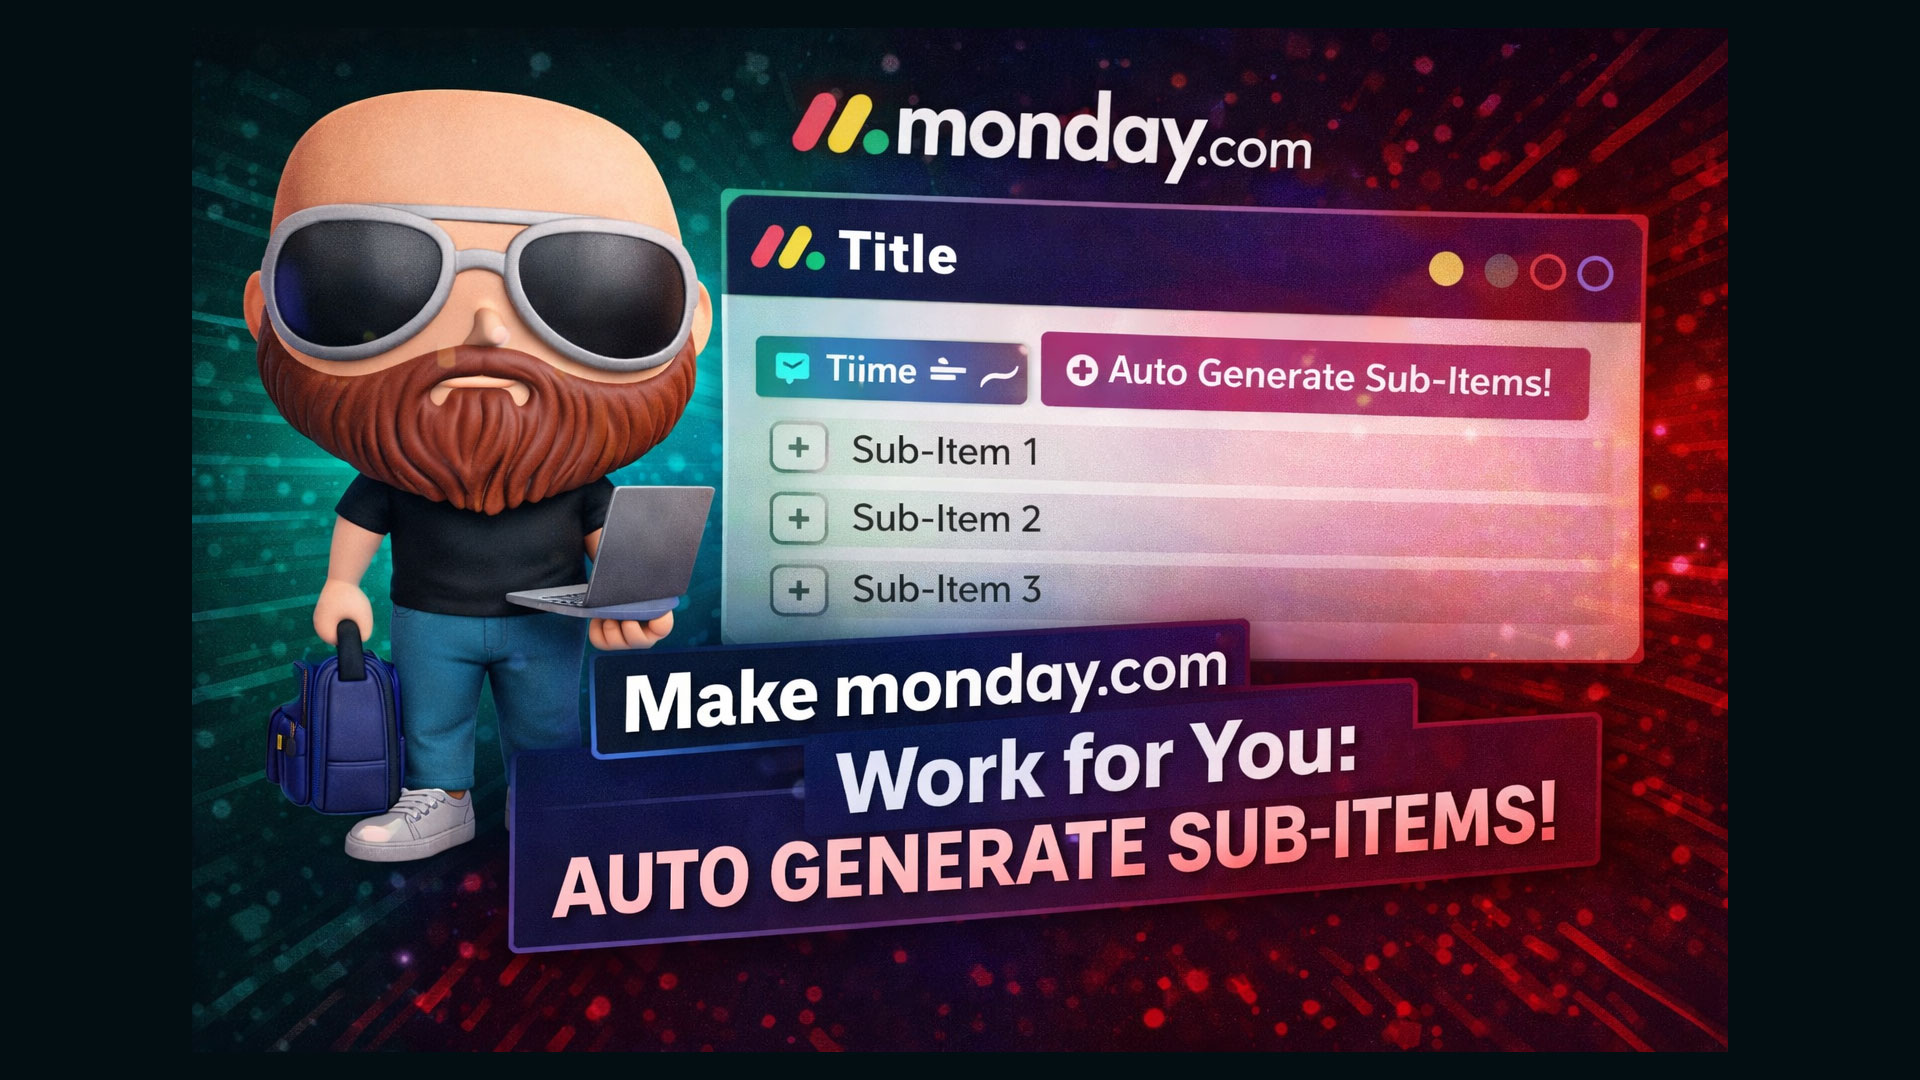
In this tutorial, I’ll walk you through how to automatically generate sub-items (tasks) in a project board when a status field changes. This is particularly useful if you handle repeatable tasks such as creating custom URLs, managing registrations, or preparing printed materials.
Let’s dive into how to set this up step-by-step.
Context of Use: Why This Matters
At our church, the communications department is responsible for processing event requests, which includes graphics, advertising, online registration, and more. Every project is managed inside monday.com with a main card representing the project and sub-items tracking specific tasks related to that project.
To streamline operations, I’ve built automations that eliminate manual entry of common subtasks—like reminding a team member to create a URL if the project requires one.
This is a real time-saver for recurring needs and helps ensure nothing falls through the cracks.
Setup: Project Board Configuration
Before diving into automation, here’s how the board is typically set up:
- Main Item (Card): Represents the full project or event.
- Sub-Items: Represent individual actionable tasks like filming, creating URLs, or coordinating with the design team.
- Status Columns: Custom fields with options like “Yes” or “No” to indicate whether various elements are required (e.g., online registration, printing handouts, etc.).
Example of Custom Status Fields:
Create Custom URL?– Yes/NoRegistration Needed?– Yes/NoPrint Handouts?– Yes/No
How to Create an Automation to Add a Sub-Item
You can automate the creation of sub-items when a status changes using built-in automations in monday.com.
Step-by-Step Instructions:
1. Open Your Board
Navigate to the board where you manage your projects.
2. Access the Automation Settings
- Click on the “Automations” button in the top-right corner of your board.
- Choose “Create Custom Automation” or select from existing templates.
3. Choose the Trigger
You want something to happen when the status changes:
- Use the trigger: “When status changes to something”.
Example:
“When Custom URL Required changes to Yes…”
4. Select the Action
Now tell monday.com what to do:
- Choose “Create Subitem” as your action.
5. Configure the Sub-Item
You can customize a number of fields within your sub-item:
- Subitem Name – e.g., “Create Direct/Event URL”
- Assignee – Assign to a specific team member
- Default Status – Set initial workflow state (e.g., “To Do”)
- Due Date – Choose to auto-set to a few days from the project’s start
- Other custom columns – Any additional info you commonly use can be pre-filled
6. Save Your Automation
Once configured, hit “Create Automation”.
7. Test the Automation
Modify the status on an item from “No” to “Yes.” You should see a sub-item automatically appear under the main item with all your designated fields completed.
Practical Use-Case Example
Let’s say you’re setting up an event request and the team selects “Yes” for Custom URL. Immediately upon this status change, monday.com generates a task titled “Create Direct URL”, already assigned to your web manager with today’s date and the status set to “To Do.” That’s one less thing to manually enter and track.
Advantages of Automating Sub-Items
- Consistency: Ensures repeated tasks are never forgotten, especially under time pressures.
- Time-Saving: Reduces manual entry for the same information across dozens of events or projects.
- Delegation: Automatically assigns the task to the right person, so nothing waits for manual hand-off.
- Trackability: Keeps your dashboard cleaner and more organized.
Additional Tips:
1. Use Naming Variables
In your sub-item titles, you can incorporate the main item’s name or date using variables like {Item Name} or {Date} to personalize each subtask automatically.
2. Duplicate Automations
Once you’ve built one automation, you can duplicate the structure for other repeated needs like printing, marketing assets, or AV setups.
3. Combine with Notifications
Consider chaining a notification to trigger after the sub-item is created. This ensures the team member knows it’s been assigned right away.
Final Thoughts
If you’re running a communications department in a church—or in any organization—where projects come thick and fast, automation in monday.com is a powerful ally. By setting up conditional sub-item creation based on status changes, you eliminate repetitive tasks and reduce the chance of human error.
The example I showed you today—automatically creating a “Create URL” task when a status is set to Yes—can serve as a model for countless other workflows. Whether it’s assigning design work, initiating social posts, or booking video shoots, apply this strategy to build a responsive and intelligent project management system.
Stay tuned for more tutorials in this series, where I’ll be covering multi-step automations, integrations with other platforms like Google Calendar or Slack, and building dashboard views for team oversight.
Feel free to check the linked playlist for additional videos that explain our overall management strategy in monday.com.
Happy automating!