Behringer WING Setup: How to Link Layers & Navigate Like a Boss
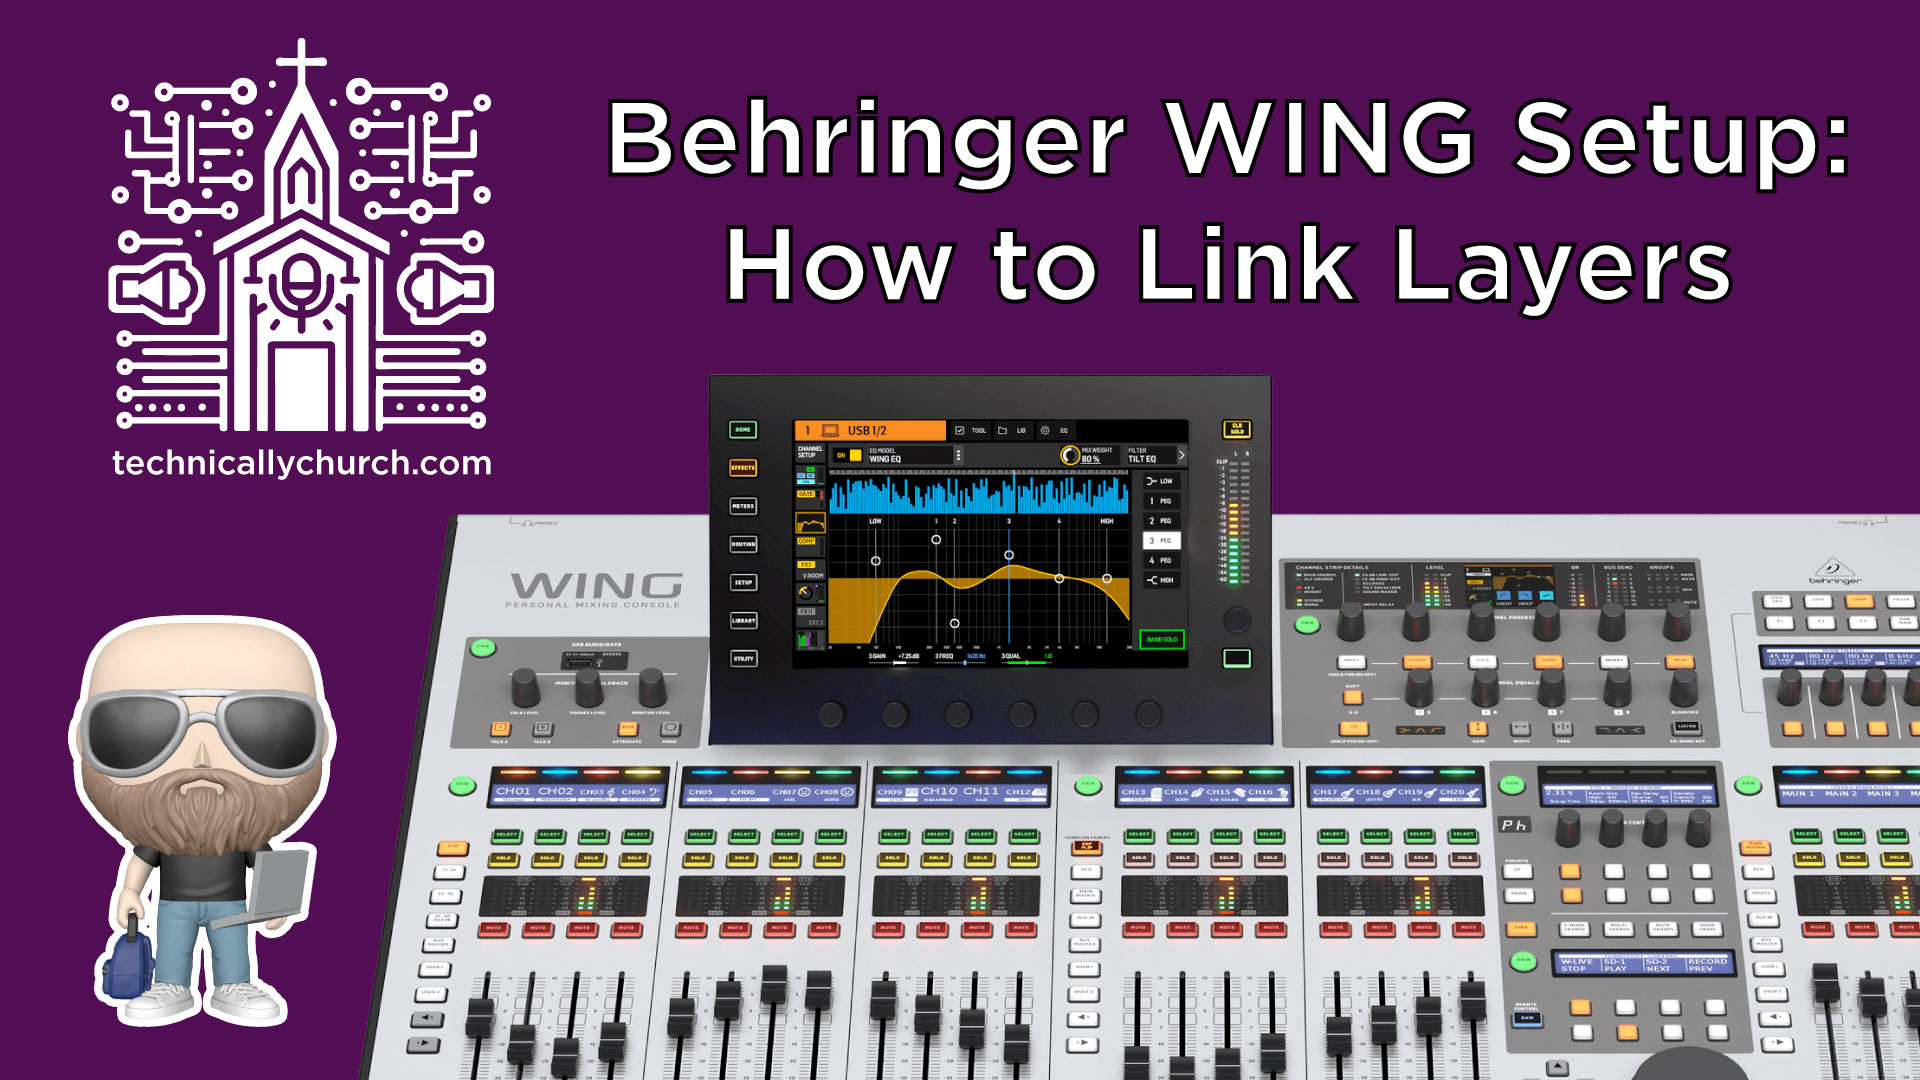
The Behringer Wing brings immense flexibility to live sound environments, especially in dynamic settings like churches where the transition between music and speech elements happens frequently. One of its most powerful yet underutilized features is the ability to fully customize its surface layers—not just the User 1 and User 2 layers. In this article, we’ll walk through how to navigate the console’s layer structure, set up a personalized workflow, and link sections of the board to streamline your mixing experience.
Understanding the Behringer Wing Surface Structure
The Wing console is divided into three control sections:
- Left Section
- Center Section
- Right Section
Each of these sections can operate independently but also offers the ability to be linked for uniform control. The default operating layers available include:
- Input Channel Layers
- Bus Masters
- User Layers (1 and 2)
- Matrix
- Main Outputs
- DCAs
- Aux Channels
Key Insight:
Many users assume that only the User Layers (1 and 2) are configurable. However, on the Behringer Wing, you can place any mix of channels, buses, matrices, mains, DCAs—on any layer, giving you unmatched flexibility in organizing your workflow.
Customizing Layers to Fit Different Use Cases
Let’s break down a practical real-world configuration, especially relevant in a church environment:
Scenario 1: Mixing Live Music (Band)
- Set User 1 Layer on all three sections (left, center, right).
- Customize User 1 to include:
- Drums, guitars, keys, tracks
- DCAs for vocal subgroups
- Mix Buses used for effects or monitor sends
Scenario 2: Mixing the Message or Sermon
- Switch only the Center Section to User 2 Layer
- Configure User 2 to include:
- Lead speaking microphones
- Ambient room mics
- Playback cues or media audio
- The outer sections (left and right) can remain on User 1 for quick access to band faders for transitions, intros/outros, or altar call music.
Note: This flexibility allows the operator to retain access to multiple functional blocks of the service without flipping layers across the entire board.
Layer Linking for Streamlined Operation
If your mixing style consistently mirrors layers across the surface, you can save time and effort by linking control sections. Related sections can be linked so that changing the layer in one section will automatically change it in the other.
Steps to Link Layers on the Wing:
- Press the “Setup” Button on the console.
- Use the touchscreen or rotary to navigate to the “Surface” tab.
- Under User Layer Link, you will see options:
- Left – Center
- Center – Right
- Enable either or both options:
- Turn ON Left ↔ Center to sync layers between these sections
- Turn ON Center ↔ Right if you want uniform control across the entire board
- Once linked, selecting User 1 or 2 (or any other layer) on one part will replicate the change across the linked sections.
Use Case:
When you always use User 1 Layer across the entire board during worship, linking all sections allows you to hit one button and see all essential channels instantly—saves time and ensures you’re always looking at what you expect.
Summary of Best Practices
- Don’t restrict yourself to User Layer 1 and 2—any channel or output can appear on any layer.
- Customize layers for specific moments in your service (e.g., worship vs. sermon).
- Use layer linking to reduce button pushes and improve consistency.
- User 1 can carry full band channels and effects, while User 2 can be optimized for speech or specific scenarios (like drum focus).
- Link layers if your workflow demands synchronous transitions on the whole surface.
Why This Matters
Layer customization and linking on the Wing isn’t just a technical gimmick—it’s a workflow revolution. Especially for church audio techs dealing with a dynamic program, maximizing this feature allows you to focus less on the console, and more on the moment. With fewer button presses and layouts tailored exactly to your service structure, you can be more responsive and precise with your mixes.
Technical Recommendations
- Save Scenes and Snippets: Once you have your layout perfected, be sure to save it as a scene or use the snapshot/snippet system to recall instantly.
- Label Everything: Use the touchscreen and rotary knobs to name your channels and layers. Clarity speeds up troubleshooting and mixing.
- Utilize Color Coding: Assign colors to faders to quickly identify instruments, vocal groups, or zones.

