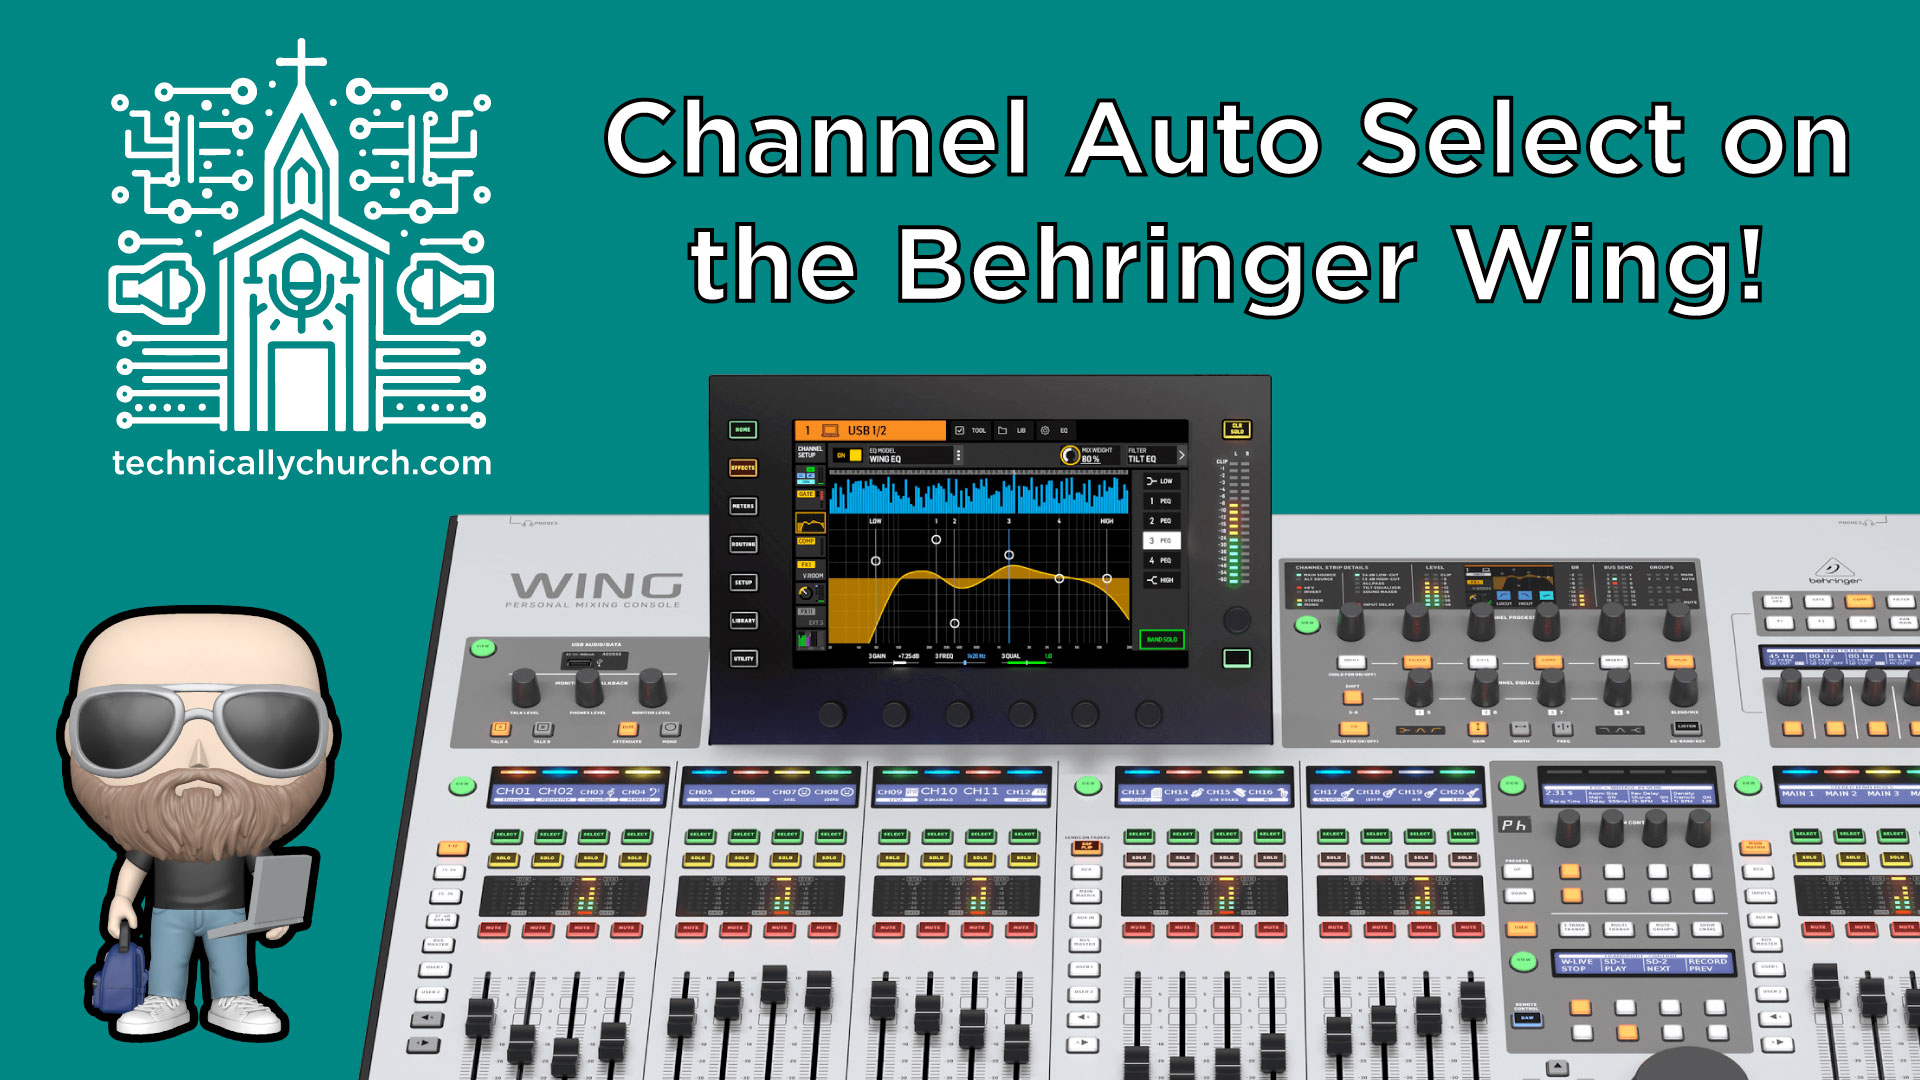
How to Use Channel Auto Select on the Behringer Wing Mixer
The Behringer WING is a powerful digital mixing console equipped with a host of features designed to make live sound mixing faster and more intuitive. One of these handy features is “Channel Auto Select,” which can significantly streamline your workflow during live productions—especially when speed and accuracy are essential.
Whether you’re operating in a church setting managing worship, sermons, and stage mixes, or in another live event environment, enabling channel auto select can help reduce your workload and make your overall operation smoother.
Understanding the Default Behavior
By default, the Behringer WING requires you to manually select a channel to access its parameters. Here’s a breakdown of how it works out-of-the-box:
- If you’re working on channel 2, you’ll press the SELECT button on channel 2.
- If you move the fader on channel 3, but haven’t selected it, you’re still adjusting volume, but the screen still shows channel 2 settings.
- To view or edit channel 3’s parameters (like gain, EQ, compression, etc.), you must explicitly SELECT channel 3.
This means additional button presses every time you want to inspect or adjust a parameter for a different channel.
Why Enable Channel Auto Select?
When you’re operating in high-pressure situations (like during a live church service), every second counts. Channel Auto Select allows you to focus on sound mixing by eliminating the need to press the SELECT key every time you make adjustments to different channels.
With Auto Select enabled, the moment you touch the fader for a channel, that channel becomes automatically selected—immediately updating the screen to show that channel’s parameter view.
Benefits include:
- Faster channel navigation
- Fewer manual clicks or button presses
- Improved workflow, especially during live mixing
- Tailored control—enable only on relevant sections (left, center, right)
Step-by-Step: Enabling Channel Auto Select
Here’s how to activate this feature:
Enter the Setup Menu
- Press the Setup button located to the right of the touchscreen.
Navigate to Surface Settings
- The Setup screen will likely open on the “General” tab by default.
- Tap on the Surface tab.
Locate Channel Auto Select Settings
- On the right side of the Surface setup page, you’ll see options for Channel Auto Select.
- You can enable or disable this feature for:
- Left section (typically input/output channels)
- Center section (often buses or DCA groups)
- Right section (often used for Main L/R, effects returns, etc.)
Enable for the Sections You Use Most
- Tap the toggle button to turn Channel Auto Select ON for the desired sections (e.g., Left, Center, or Right).
- This lets you prioritize exactly where you want auto selection to happen.
- For example, if you want tactile control over typical input channels but want to avoid accidentally selecting the mains or returns, enable it only for the Left section.
Return to the Home Screen
- Press the Home button to return to your normal mix screen.
- Now, as you move a fader (say, Channel 3), that channel will become automatically selected.
- You’ll immediately see its parameters on the screen, ready to be edited.
Use Case Example in a Church Environment
Let’s say your church is using Channel 1 for the lead pastor, Channel 2 for a worship leader, and Channel 3 for a guest mic. During a live service, you notice the guest mic (Channel 3) sounds a bit low:
With Channel Auto Select:
- Simply move the fader on Channel 3 up.
- The screen instantly shows Channel 3 parameters.
- You can now access gain, EQ, or compression without tapping SELECT.
This simplicity is a game-changer when you’re multitasking or working with volunteers who are new to digital consoles.
Final Tips
- Practice switching sections: Try enabling auto select for all sections at first to see how it affects your workflow, then fine-tune.
- Teach your team: If you have multiple volunteer sound techs, teach them this trick. It helps reduce mistakes and speeds up training.
- Use in combination with Custom Layers: Many engineers use custom fader layers to group commonly used channels. With auto select, this becomes even more powerful.