Setting Up Vocal Delay on the Behringer Wing: Step-by-Step Guide for Live Sound Environments
How to Set Up a Dedicated Vocal Delay on the Behringer Wing
When used efficiently, delay on vocals can add depth, space, and musical emotion. Whether you’re working with lead singers on stage or managing a multi-vocal team in a worship setting, knowing how to set up and control vocal delay properly is essential for a polished live mix.
In this article, we’ll walk step-by-step through how to set up a dedicated bus on the Behringer Wing console (running firmware version 3.0.5) to handle vocal delay, incorporate it into your front-of-house (FOH) mix, and maintain control over who receives delay at any time.
Overview
We’ll create a vocal delay channel using:
- One of the available buses on the Wing
- An inserted stereo delay effect
- Sends on Fader to route desired vocal channels to the delay
- Assign the effect bus output to the Main (FOH)
Why use a bus instead of a matrix for delay?
As of firmware 3.0+, the Behringer Wing allows matrix channels to operate similarly to buses, even allowing Sends on Fader. However, matrices cannot be routed back to the Main LR mix. Therefore, for delay that needs to be heard at FOH, you must use a standard mix bus.
🛠️ Step-by-Step Instructions
1. Choose an Available Bus for Delay
Select an unused mix bus that will serve purely for vocal delay processing.
Steps:
- Press the Bus button on the Wing.
- Identify an available bus (e.g., Bus 14).
- Label it “Vocal Delay” to keep your project organized.
Tip: Keep this bus post-fader so the delay reflects changes in the original vocal channel.
2. Insert a Stereo Delay Effect
We want to insert a delay unit onto this bus so that any signal routed into the bus is processed through that delay.
Steps:
- Select Bus 14, then go to the Insert tab.
- For Insert Position, select one that is available.
- Choose Insert FX Rack as the insert source.
- Pick an unused FX slot (e.g., FX Slot 8).
- Press to open it, then browse to select a Stereo Delay effect.
You now have a stereo delay effect inserted on Bus 14. At this point, the delay isn’t receiving any input nor is it routed anywhere.
3. Send the Delay Output to the Mains
We need to make sure that the output from Bus 14 (after going through the stereo delay) reaches your FOH speakers.
Steps:
- With Bus 14 selected, navigate to the Main Sends tab.
- Enable Main 1 (or your FOH path).
- Set the level to unity gain (0 dB).
Unity ensures that your delay signal hits the mains at its intended level. Adjust the delay return with the Bus 14 fader.
4. Use Sends on Fader to Route Vocals to the Delay Bus
Now we’ll send specific vocal mics into Bus 14 using Sends on Fader.
Use Case Advice:
You don’t need delay on every vocalist. Send only the vocal lead (or any vocal needing delay for the moment). Reverb is usually safe for all vocals, but delay can become muddy if overused.
Steps:
- Activate Sends on Fader mode for Bus 14.
- Do this by pressing the Sends on Fader button and selecting Bus 14.
- Select the vocal input channels you want to process (e.g., Vocal 1, 2, or 3).
- For each desired vocal:
- Turn on the send to Bus 14.
- Push the fader to Unity (0 dB) for a balanced send.
These signals are now going to Bus 14, being delayed via FX Slot 8, and returned to the FOH through the main buss routing.
5. Mix and Dial in Your Delay Settings
Fine-tune the delay parameters to suit the song style, tempo, and energy.
Delay Parameters to Consider:
- Delay Time (in milliseconds or synced to tempo)
- Feedback (how many repeats)
- Wet/Dry Mix (usefully done with Bus 14’s fader)
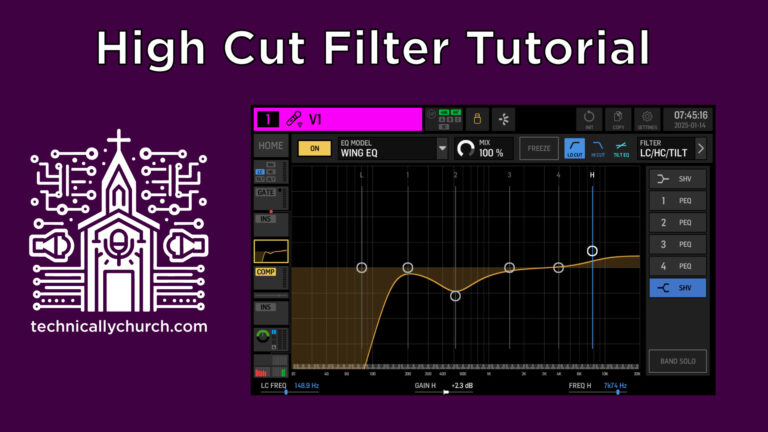
- High/Low Cut Filters (to control the tonal shape of the delay)
You’ll find these settings within the Effects Rack you’re using for the stereo delay.
Quick tip: A shorter delay (e.g., 350 ms) with moderate feedback and low mix can thicken vocals subtly without being distracting. For ballads or specific musical moments, longer delays can add emotional impact.
🎛️ Summary Mixing Workflow
To summarize the routing:
- Input Channels (Vocal Mic 1, 2, 3) ➜
- Send on Fader ➜
- Bus 14 ➜
- Stereo Delay FX Insert (FX Slot 8) ➜
- Main 1 (FOH PA)
Use the fader for Bus 14 during the mix to control how much delayed signal hits the audience. Your dry vocal remains in the mains directly; the delay is layered behind for dimension.
📌 Pro Tips
- Use Scene or Snapshots to change delay settings per song. Each song may require different delay times or contributors.
- Mute Bus 14 between songs with a footswitch or snapshot. This prevents awkward echo when speaking or in quiet transitions.
- Name your Buses and FX clearly. Don’t just go by numbers—this helps across services and volunteers.
Final Thoughts
Mastering delay routing on the Behringer Wing opens up more creative control for your vocal performances, especially in live church settings where musical dynamics vary from song to song. With the bus and FX routing capabilities introduced in firmware 3.0.5, you now have even more flexibility to handle complex mixes like a pro.
Always remember: Delay is an artistic tool — use it tastefully to support the message and musical expression of the moment.
Happy mixing!


