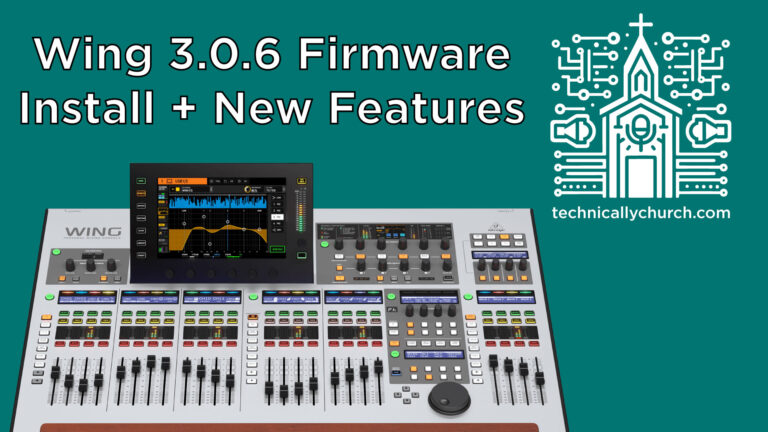
Mastering the Home Screen on the Behringer WING: A Comprehensive Walkthrough for Audio Engineers
The Behringer WING is a powerful and versatile digital mixing console designed for high-performance environments such as houses of worship, live venues, and broadcast settings. In this article, we’ll walk through a detailed explanation of the “Home Screen” found in the Channel section of the Behringer WING. Whether you’re a beginner or an intermediate user, this guide will help you understand how to access and control essential features channel by channel.
We’ll break down each section of the Home screen to give you not just an overview, but step-by-step instructions and deeper insights to help elevate your mix, especially in a church sound environment.
Getting Started
To follow along, ensure your Behringer WING is powered on and you have a channel selected. For this tutorial, we’ll assume you have selected Channel 1, typically used for a vocal microphone.
Once selected, navigate to the HOME tab of the channel section. This is where the heart of all channel settings lives.
The HOME TAB Overview
This is the default screen when you select a channel. Let’s explore it feature by feature.
1. Tags
- At the top of the screen, you’ll see Tags such as Local Mute Groups or DCAs (Digitally Controlled Amplifiers).
- These tags visually show what groups the channel is part of. Assign or change groupings for easier mixing control.
📌 TIP: Group vocal microphones under one DCA for quick collective adjustments during worship services or live sets.
2. Channel Patch
- Located in the Overview section.
- Shows the source_patch (local, AES50 input, Dante, etc.)
- Displays Gain (preamp gain) and Trim (digital trim) settings.
- Shows icons for which rack effects are inserted.
⚡ STEP-BY-STEP:
- Tap the patch icon to adjust input sources.
- Choose your patch point. This could be local input, Dante, or via AES50 from stage boxes.
- Adjust gain accordingly while watching your meters.
3. Phantom Power & Mute
- 48V Phantom Power for condenser mics can be toggled by holding the button (a brief hold is required for safety).
- Channel Mute is located prominently to quickly silence input.
- Another mute present on the right mutes the source (not just the channel output).
⚠ Remember: Engaging phantom power briefly mutes the channel to prevent loud pops.
4. EQ Snapshot
- A visual snapshot of the current EQ settings.
- Tap the EQ box to drill into detailed equalizer settings.
5. High-Pass & Low-Pass Filters
- Toggle low-cut, high-cut, and tilt EQ on this screen.
- Active filters light up for clarity.
📌 TIP: Enable a high-pass filter on all vocal channels to reduce stage rumble and proximity effect from microphones.
6. Main Bus Assignment
- WING offers four discrete main buses (M1, M2, M3, M4).
- Assign the selected channel to one or more by tapping them until lit.
7. Monitoring Controls
- Select whether the Solo signal goes to headphones or an external monitor.
- Width control: Adjust the stereo width.
- Pan: Position your audio in the stereo field.
8. Metering & Fader
- Real-time level meter for the channel.
- On-screen fader mimics physical fader movements.
- Tap and drag to adjust the fader virtually.
ICON/COLOR TAB
Personalization is key to fast mix navigation.
- Assign a custom icon—vocal mic, guitar, drums, etc.
- Set a color that appears on the scribble strip.
- Name the channel for instant identification.
Link to Source Option:
- If enabled, the name and icon follow the source, useful when reassigning channels or using snapshots.
TAGS TAB
Assign the channel to:
- DCAs
- Mute Groups
This is one of several places to manage group settings, especially useful for scene control in live programs.
SOURCE TAB
Digging deeper into your input:
- Main/Alternate Input Sources: Great for backup setups or switching between two players.
- Input select can follow global switching or remain dedicated.
- Visual control of Gain Trim and Balance.
- Ability to add delay per channel—great for time-aligning mics in large venues.
- Duplicate filter displays for quick tweaks.
PROCESSING TAB
This dynamic section allows you to re-order and interact with:
1. GATE
- Turn the noise gate on/off.
- All standard gate parameters like threshold, attack, hold, release are adjustable.
🛠 Ideal for removing stage bleed in vocal or drum mics.
2. EQ
- 6-band parametric EQ with draggable GUI.
- Includes low-shelf, high-shelf and 4 parametric bands.
3. COMPRESSOR
- Various compression types available.
- Adjust threshold, ratio, attack, and release.
🧰 Pro Tip: Use compression subtly for vocals to smooth dynamic ranges during sermons or musical performances.
4. FX RACKS
- Two FX slots:
- Pre-fader FX
- Post-fader FX
- Common inserts: Reverb, Delay, Autotune
🔧 INSERTING FX STEP-BY-STEP:
- Tap the FX slot.
- Choose the effect type.
- Adjust parameters via touchscreen or encoders.
- Toggle On/Off as needed.
MAIN TAB
This section allows:
- Reassignment to Main Buses (1–4)
- Adjust volume levels to each main bus.
- Visual displays of stereo Width and Fader level.
BUS/MATRIX TAB
Here, assign your channel to Mix Buses or Matrix Sends.
🚨 Critical for monitor mixes, livestream sends, or recording feeds.
Using the Encoder Wheel:
- Scroll between Bus and Matrix destinations.
- Tap to engage a send.
- Adjust levels, tap points (Pre EQ, Post Fader), stereo and on/off.
ADDITIONAL CONTROLS & GLOBAL INFO
Top Status Bar:
- A/B/C – AES50 connections.
- SC – Stage Connect active.
- 48K – Shows current sample rate.
- Internal – Synch clock status.
- USB Icon – Tap to access USB record/play.
🎓 Pro Tip: Proper clock source settings are crucial when using Dante or AES50 to prevent jitter or sync errors.
If you have a Dante card, the logo will be present here.
Channel Management Shortcuts:
- Initialize – Reset a channel quickly.
- Copy – Duplicate settings to another channel.
- Settings – RTA options and Safe mode per channel for snapshot protection.
CONCLUSION
The Behringer WING’s Channel Home Screen is your command center for shaping, routing, and customizing each input. From EQs and FX to bus sends and main assignments, the intuitive layout gives you an incredible amount of control with minimal need for deep menu diving.
Learning to fluently navigate this screen is critical, especially in a live church environment where settings need to be accessed and changed quickly and accurately without disrupting the service. Use this guide to build strong muscle memory and improve your mixing speed and confidence.


