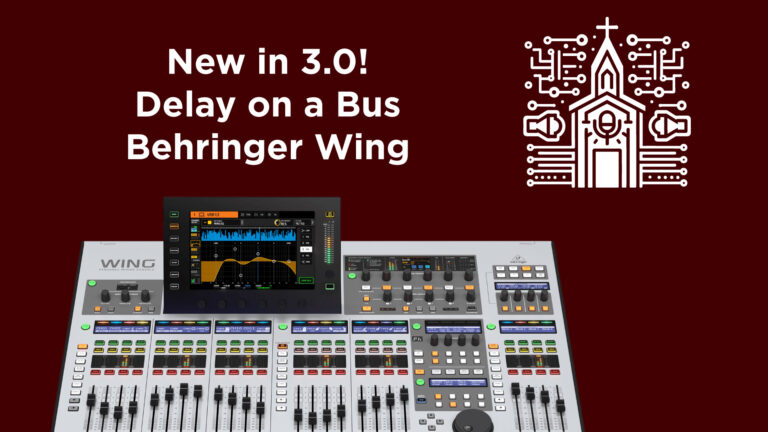
Behringer Wing Firmware 3.0: Unlock the Talkback to Matrix Feature!
How to Send Your Talkback Channel to a Matrix on the Behringer Wing (Firmware 3.0 or Higher)
The Behringer Wing soundboard is a powerful tool for live sound mixing, and with the release of Firmware 3.0, it introduced the long-awaited ability to send your talkback microphone directly to a matrix. This feature adds flexibility, especially for live production environments like churches, where talkback channels are essential for communication between tech crew, musicians, or other production staff. In this guide, I’ll walk you through setting this up step by step while explaining the key elements along the way.
Summary of Steps:
- Access Talkback Settings: Navigate to the talkback settings via the “View” button near the USB port.
- Select Talkback Channel (A or B): Identify which talkback channel you want to configure.
- Assign Destination: Route the talkback channel to a specific matrix (e.g., Matrix 1 or 2).
- Test Configuration: Confirm the talkback mic transmits to the assigned matrix.
What is a Talkback Channel and Why Use a Matrix?
The talkback channel is an internal communication line that allows you, as an audio engineer, to communicate with your team using a microphone directly connected to the soundboard. A matrix allows you to mix or reroute audio signals to multiple destinations—for example, sending talkback instructions to in-ear monitors for the band, broadcast mixes, or a backstage area.
The new matrix routing for talkback channels means you can now integrate this communication into more customized setups, ensuring everyone hears what they need without interrupting the main live mix.
Detailed Step-by-Step Instructions
1. Access Talkback Settings
- On the Behringer Wing soundboard, locate the USB port on the top-left side of the console. Next to it, you’ll see a button labeled View.
- Press the View button to open the settings panel for your talkback channels. This is where you can manage and configure how your talkback A and B channels behave.
2. Understand Talkback A and B Options
- The Behringer Wing allows you to use two different talkback channels: A and B. This flexibility is helpful in diverse live sound scenarios.
- Talkback A can be routed to one destination (e.g., musicians’ monitors).
- Talkback B can be routed to another (e.g., backstage).
- Additionally, you can configure how the talkback button functions:
- Momentary Mode (Push-to-Talk): Talkback is active only while you press the button.
- Toggle Mode: Press once to activate talkback, and press again to deactivate.
Decide which channel, A or B, you want to route to a matrix.
3. Assign the Talkback Mic to a Matrix
- While still in the talkback settings menu, find the section where routing options are displayed for your selected channel (A or B).
- You will see options to send the talkback audio to various destinations, including buses and matrices.
- Select the Matrix you want to route to. For instance:
- If you want to send Talkback A audio to Matrix 1: Simply click on Matrix 1.
- For Talkback B to go to Matrix 2: Select Matrix 2.
- This assignment tells the Behringer Wing to send your talkback microphone’s signal to the chosen matrix output.
4. Test the Configuration
- Speak into the talkback microphone and verify that the audio is now being sent to the selected matrix.
- If the matrix is routed to in-ear monitors or a specific output, confirm with your team or musicians that they can hear you through their designated devices.
Additional Tips for Optimized Talkback Usage
- Gain Staging: Ensure your talkback microphone’s gain is set appropriately to avoid distortion or low signal issues. You can adjust gain from the input settings of the channel assigned to your talkback mic.
- Labels and Organization: Name your matrices and talkback channels clearly within the digital interface. This reduces confusion when working in high-pressure live settings.
- Separate Outputs: Use the matrix output configuration to avoid unintentionally sending talkback to the main front-of-house (FOH) mix or livestream audio. It’s best to isolate talkback signals to designated in-ear monitor mixes or auxiliary outputs.
- Feedback Prevention: Keep your talkback mic far from monitor wedges or speakers to minimize the risk of feedback.
Practical Use Cases in the Church Environment
- Communication Between FOH and Musicians: Route the talkback to a matrix linked to in-ear monitors so musicians can hear instructions or cues without interrupting the live service audio.
- Stage Manager Communication: Use a second talkback (e.g., Talkback B) and assign it to a backstage matrix, allowing the stage manager to hear critical updates during live events.
- Livestream Monitoring: For hybrid services, communicate directly with a livestream operator via a dedicated talkback matrix, ensuring real-time production coordination.
Final Thoughts
Firmware 3.0 on the Behringer Wing has elevated the console’s capabilities, allowing greater flexibility and customization in routing. Sending your talkback mic to a matrix is a game-changer for live sound engineers, particularly in complex setups like church environments. With just a few clicks, you can ensure seamless communication with your team, making your events more professional and stress-free.


