Behringer Wing File Backup & Organization Hack You Need!
How to Back Up and Manage Files on the Behringer Wing Using USB Mode
The Behringer Wing is a powerful digital mixing console that allows users to create and save an extensive file structure for easier and repeatable workflows. Whether you’re creating show setups, snapshots, or multiple snippets, backing up and organizing your files is vital for maintaining efficiency and preventing data loss. In this tutorial, we’ll walk through how to connect your Wing to a computer via USB, back up the files, and reorganize or clean up your drive, step by step.
Summary of Key Points
Connect your Behringer Wing to a computer via USB, enable USB Disk Mode on the console, and access the internal drive as a disk drive. Backup or reorganize snapshots, snippets, and shows directly from your computer for effortless file management.
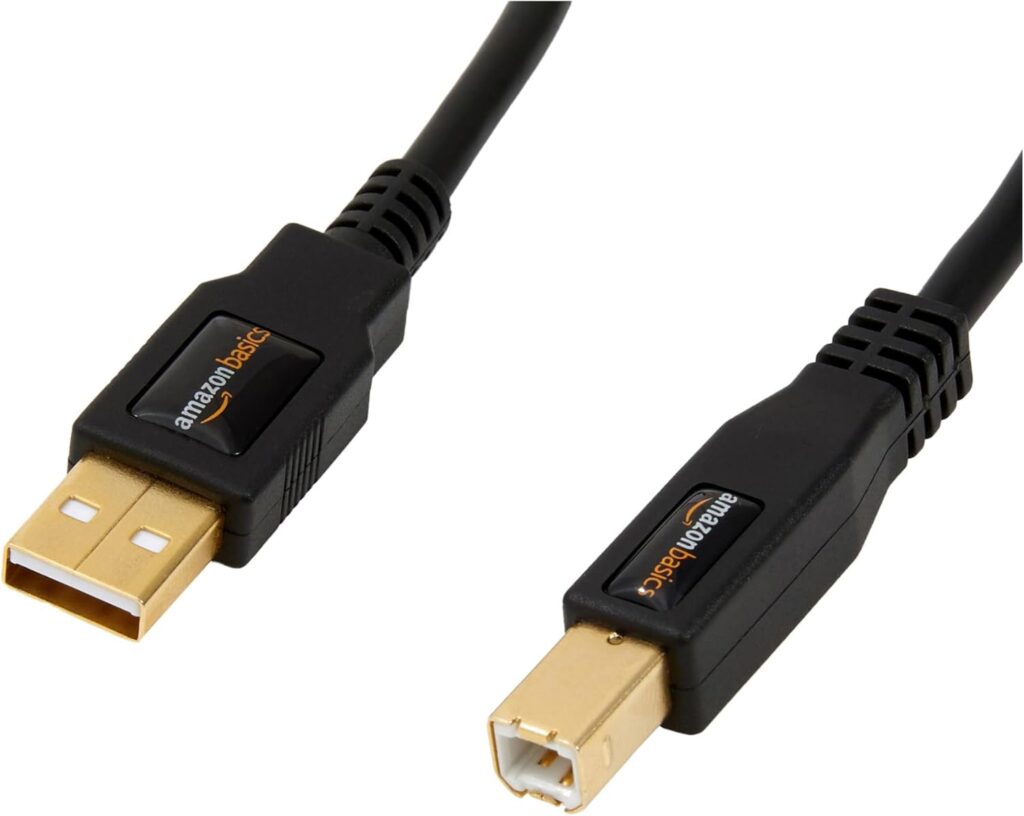
Amazon Basics USB-A to USB-B 2.0 Cable
Cable needed to connect Behringer Wing to computer as outlined in this tutorial.
*affiliate link present – help support this website’s free resources!
Step-by-Step Guide: Backup and Management Process
1. Connecting the Wing to Your Computer
- Locate the USB Type-B port (commonly referred to as the “USB Printer Port”) at the back of your Behringer Wing console.
- Use a USB Type-B to Type-A cable to connect the Wing to your computer.
- Once connected, by default, your computer will recognize the Wing as an audio input source. This mode allows for multi-track recording from the board, which is covered in other tutorials. For backup and file management, you’ll need to switch to USB Disk Mode.
2. Enabling USB Disk Mode on the Behringer Wing
- On the Wing, press the Setup button to access the system configuration menu.
- Look at the bottom left of the setup page, where you’ll find two options:
- USB MSD Access: OS Partition
- USB MSD Access: Data Partition
- The OS Partition contains the system’s operational files, which you typically won’t need to interact with.
- The Data Partition holds files such as shows, snapshots, snippets, and libraries—this is what you want to back up.
- Tap on Data Partition to enable USB Disk Mode for your files. A confirmation prompt will appear asking if you want to start USB Disk Mode. Confirm this action.
Tip: When you enable USB Disk Mode, the computer will no longer recognize the Wing as an audio source. Instead, it will display the data drive, allowing for easy access to all the files stored on the Wing.
3. Accessing Files on Your Computer
- On your computer, open File Explorer (Windows) or Finder (macOS).
- Look for a new removable drive called “Wing Data.”
- Click on it to access the Wing’s file structure. This will include folders and files for your saved shows, snapshots, and snippets.
4. Backing Up Files
- Full Backup:
- Select all files and folders in the Wing Data drive.
- Drag and drop them to a folder on your computer’s hard drive or external storage.
- Selective Backup:
- Click on specific files or folders that you want to back up.
- Drag and drop these into a designated folder on your computer.
Tip: Create a timestamped folder on your computer (e.g., “Wing Backup_[YYYY-MM-DD]”) for organization and easier identification of backups.
5. Reorganizing and Cleaning Up the Drive
- From your computer, you can effortlessly create new folders, rename files, or move them around to better organize your file structure.
- For example, create folders like “Snapshots,” “Sunday Services,” or “Rehearsals” and drag the appropriate files into these new directories.
- You can also delete obsolete files directly from the Wing data drive, freeing up storage on the console.
Important: Be cautious when deleting files. Confirm that they are no longer required to avoid accidental loss of important configurations.
6. Finishing Up: Ejecting the Drive and Returning to Normal Operation
- Once you’re done managing your files, safely eject the Wing Data drive from your computer:
- On Windows, right-click the drive and select “Eject.”
- On macOS, drag the drive into the trash bin or click “Eject” next to the drive name.
- After safely ejecting, the Wing will automatically disable USB Disk Mode.
- Confirm by looking at the screen where the USB MSD Access button will be turned off.
- Your library on the Wing will now reappear as normal, and the USB port will return to its default mode as an audio input source.
Benefits of USB Disk Mode on the Wing
- Stress-Free Backup: Safeguard all your shows, snapshots, and workflows on your computer in just a few clicks.
- Streamlined Organization: Easily reorganize and delete files to maintain a clean and efficient workspace on the Wing.
- Comprehensive File Access: View and manage the entire scope of your saved data directly from your computer, removing the limitation of navigating files on the console itself.
Conclusion
File management on the Behringer Wing doesn’t have to be complicated. With USB Disk Mode, you gain direct access to the console’s storage to back up, clean up, or reorganize your files. This simple process ensures that your settings and data remain secure and easily accessible for future use. Make it a habit to back up your Wing’s data regularly, keeping your live sound workflow seamless and worry-free!
