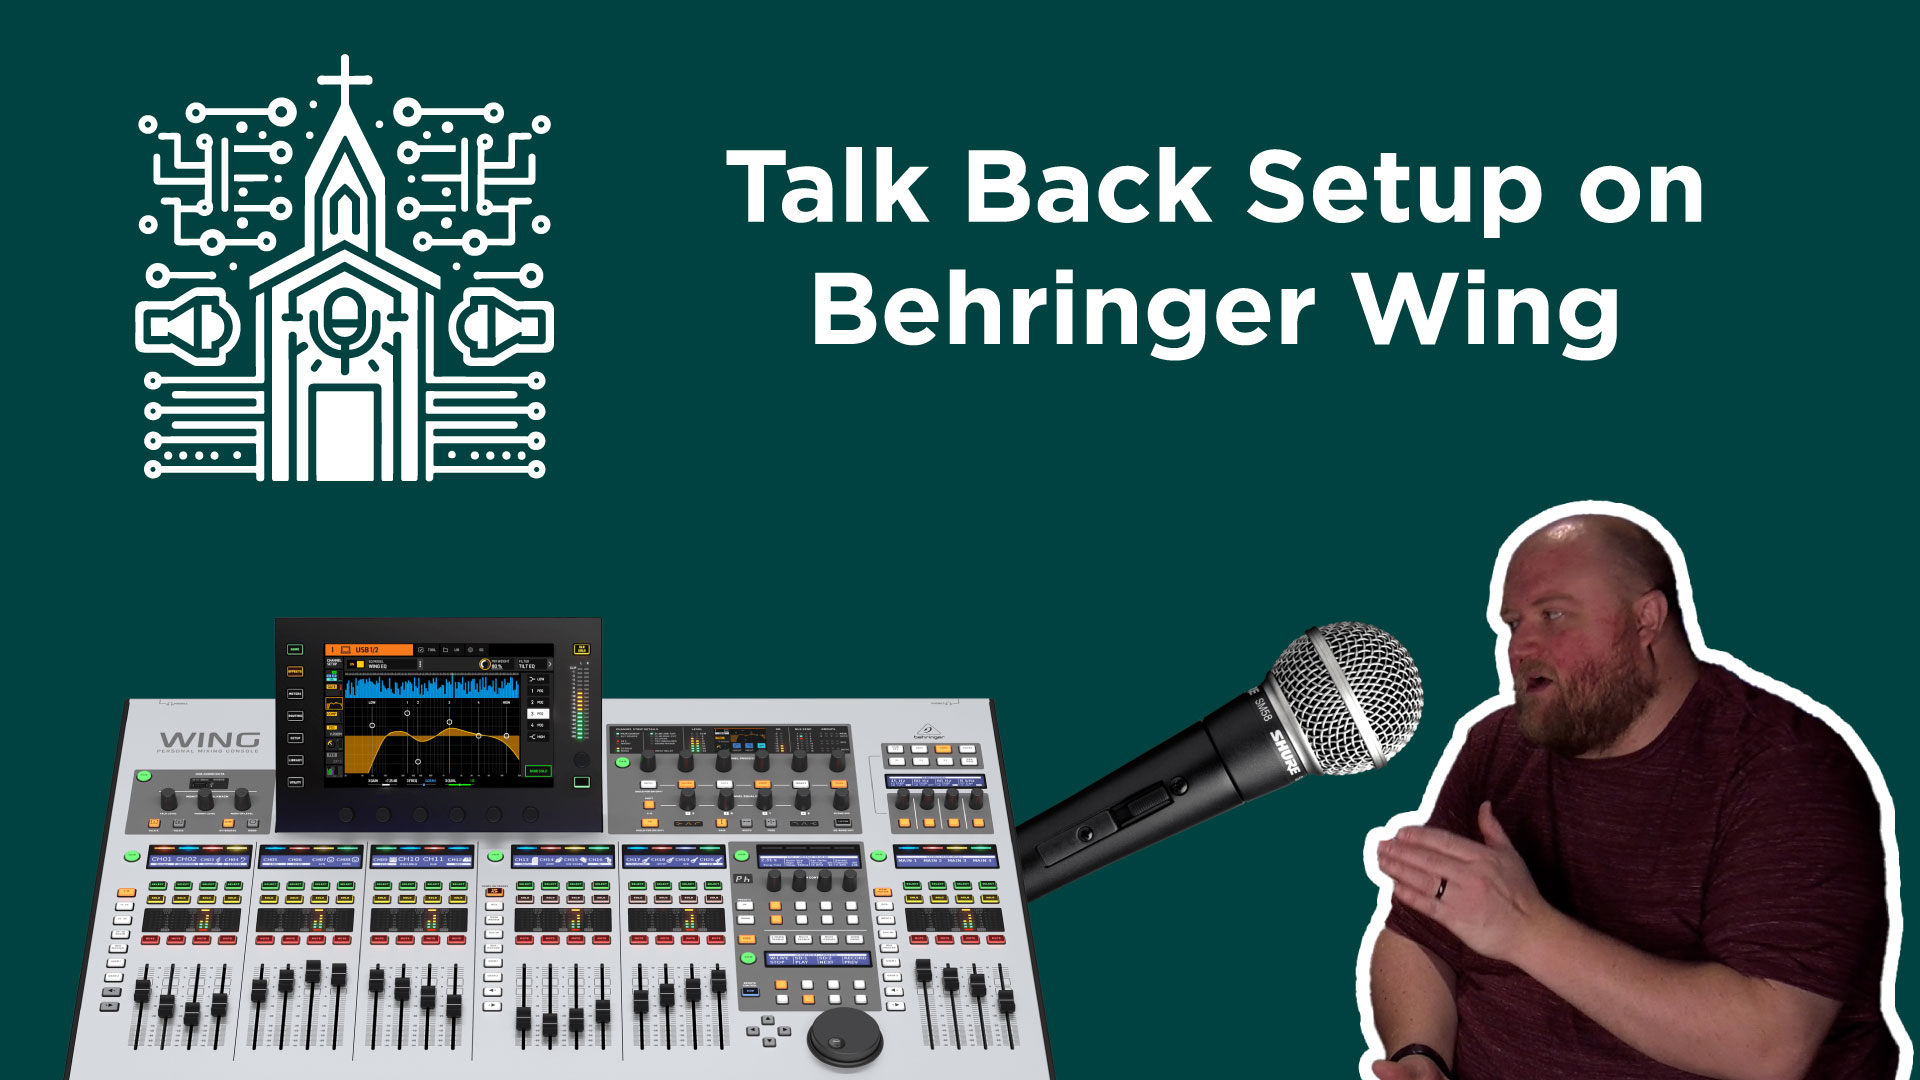
Setting Up a TalkBack Mic on the Behringer Wing: A Step-by-Step Guide
The TalkBack microphone is a critical tool for live sound environments, enabling seamless communication between the sound engineer and performers or stage crew. With the release of Behringer Wing firmware 3.0, setting up and using a TalkBack mic has been refined, offering more options and flexibility. This guide will walk you through the updated process.
Why Use a TalkBack Mic?
- Improved Communication: Directly communicate with musicians, vocalists, or tech teams without disrupting the audience.
- Customization: Route TalkBack audio to specific groups, such as vocalists, instrumentalists, or stage managers, using buses or matrices.
- Efficiency: Quickly toggle the mic on/off using push or latch settings for hands-free operation when needed.
Step-by-Step Instructions
1. Initial Setup
Step 1: Connect the Microphone
- Plug a microphone into one of the local inputs on the Wing.
- Note: The Wing does not have a dedicated TalkBack input, so you’ll need to use an available channel like Channel 40 or Aux 8.
Step 2: Configure the Input
- Go to the Setup menu and click on the Audio tab.
- Choose the TalkBack input from the available options (Channel 40 or Aux 8).
- Patch the selected channel to the physical input where the mic is connected.
- Example: If your mic is plugged into Local Input 7, assign Local Input 7 to Aux 8 in the patching window.
2. Routing the TalkBack Signal
Step 1: Access TalkBack Settings
- Press the View button (near the USB stick area on the Wing).
- Navigate to the TalkBack Settings screen.
Step 2: Configure TalkBack A and B
- The Wing provides two TalkBack paths (A and B) for flexible routing.
- TalkBack A: Route to specific musicians or vocalists.
- TalkBack B: Route to the entire band or another group.
Step 3: Set the Trigger Type
- Choose between Push or Latch modes:
- Push: Hold the button while talking; release to deactivate.
- Latch: Press once to activate; press again to deactivate.
Step 4: Select Destinations
- Assign TalkBack A and B to specific buses or matrices:
- Example:
- TalkBack A: Route to Buses 1–6 (wireless in-ear monitors).
- TalkBack B: Route to Bus 12 (Behringer P16 monitor system).
- Example:
- Optionally, send the TalkBack to mains or other outputs if needed (not typical).
3. Using Additional Features
Activate TalkBack from the Screen
- Enable or disable TalkBack directly from the screen by pressing buttons for A or B.
Dim Settings
- Configure the Dim feature to reduce overall output levels while the TalkBack is active, preventing feedback or overpowering audio.
Additional Controls
- Access settings like Mute, Mono, Left-Right Swap, and custom dim levels directly from the TalkBack menu.
Practical Example
In a live church setting with a full band:
- Buses 1–6: Wireless in-ear monitors for vocalists and instrumentalists.
- Bus 12: Connected to a P16 monitor system for band members.
- TalkBack A: Communicates with wireless in-ear users.
- TalkBack B: Communicates with the entire band via the P16 system.
The sound engineer can toggle between A and B to direct messages appropriately, ensuring clear communication with different groups.
Key Changes in Firmware 3.0
- Updated TalkBack Menu: Improved interface with buttons for A/B activation and new features like dim and mono settings.
- Flexible Routing: Choose between two TalkBack paths and assign them to any combination of buses or matrices.
- Simplified Setup: TalkBack inputs are now configured in the Setup > Audio menu.
Conclusion
The TalkBack functionality on the Behringer Wing offers a powerful communication tool for live sound engineers. With firmware 3.0, the process of setting up and managing TalkBack mics is more intuitive and versatile than ever. By properly configuring inputs, routing, and settings, you can ensure seamless communication during performances or events, helping maintain professionalism and efficiency in your workflow.
Quick Reference Summary
- Patch the mic to Channel 40 or Aux 8 in the Setup > Audio menu.
- Assign the input to the physical connection (e.g., Local Input 7).
- Configure TalkBack settings under View > TalkBack:
- Select Push or Latch mode.
- Route to buses or matrices as needed.
- Use A/B for separate communication groups.
- Adjust dim levels and other preferences for optimal performance.
With these steps, you’re ready to use the TalkBack feature effectively for any live or studio scenario.


