Adding Delay to a Bus on the Behringer Wing: A Step-by-Step Guide
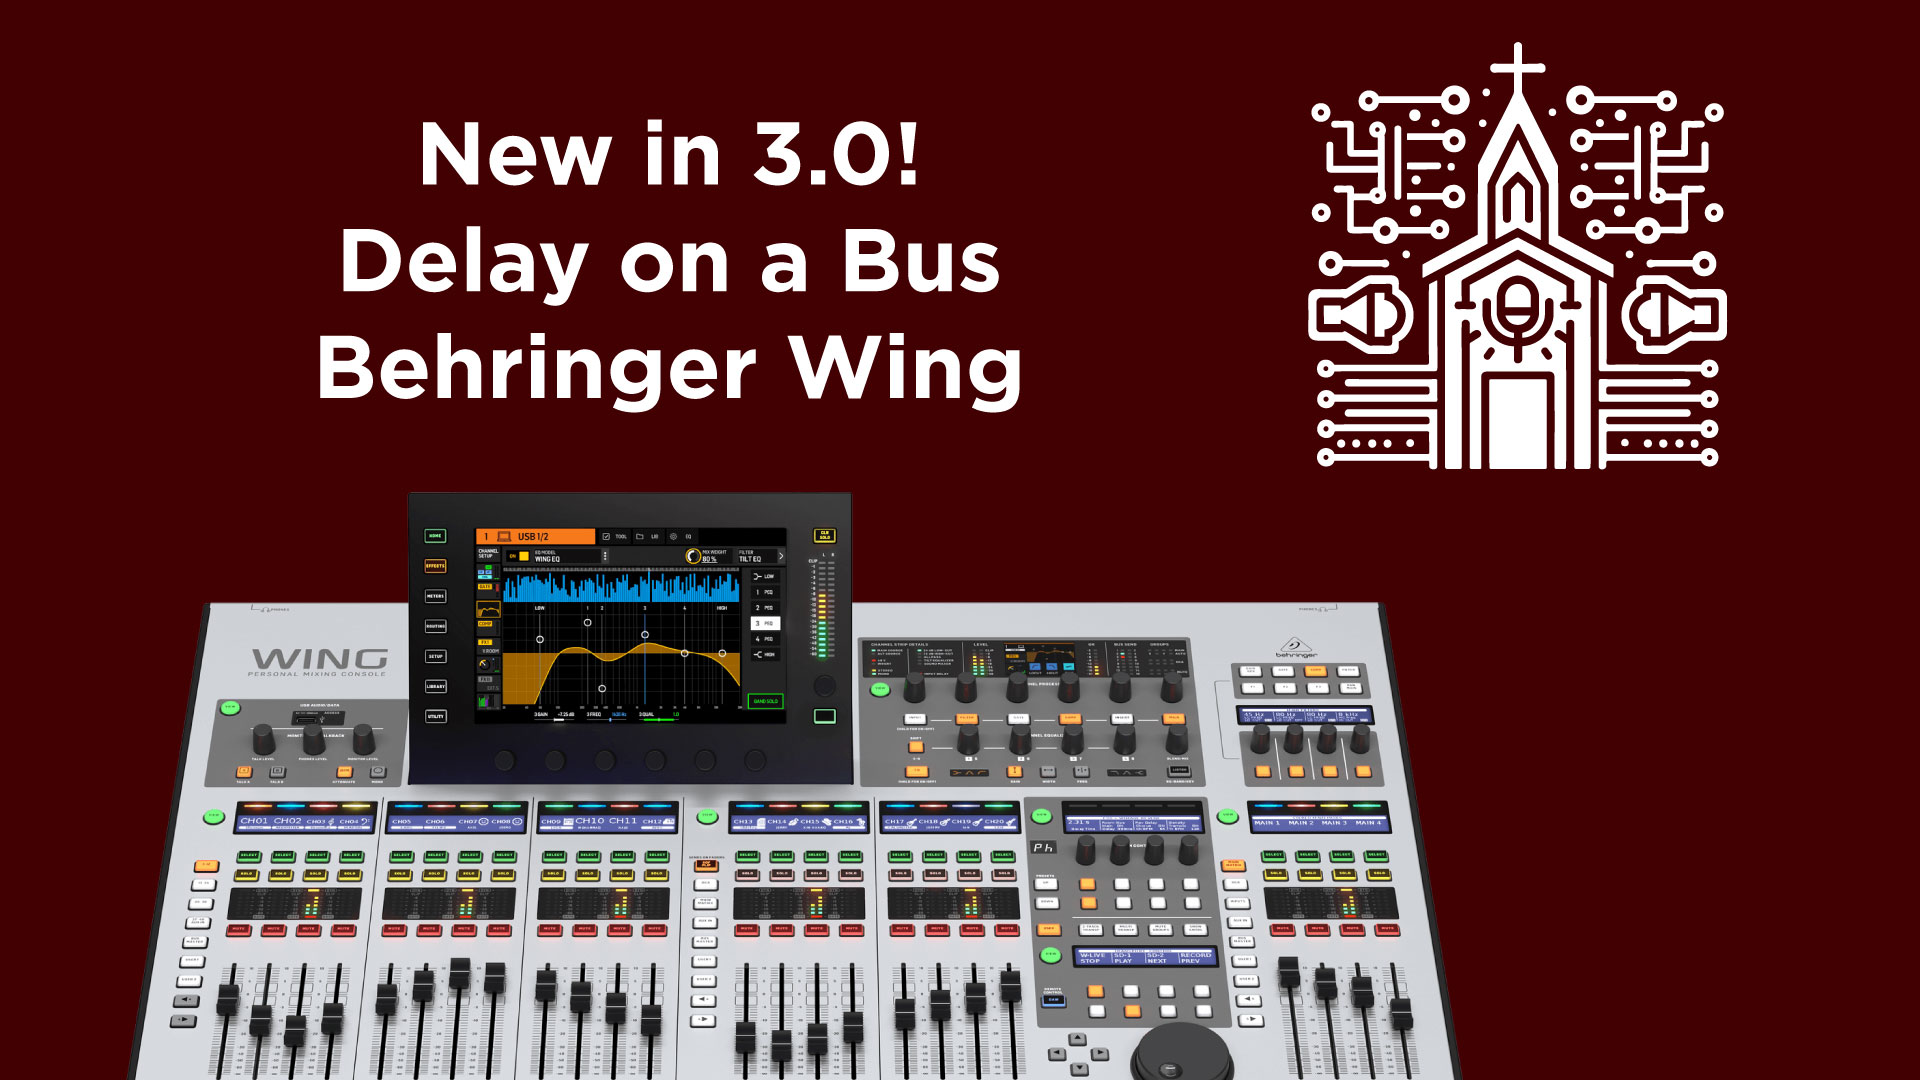
The Behringer Wing digital mixing console has revolutionized live and studio sound engineering with its versatile features and user-friendly interface. With the release of firmware version 3.0 and above, a highly anticipated feature was introduced: the ability to add delay directly to a bus. This capability allows sound engineers to synchronize audio signals more precisely, addressing issues like phase alignment and audio latency in complex setups.
In this comprehensive guide, we’ll walk you through the process of adding delay to a bus on the Behringer Wing, providing detailed instructions and insights to help you make the most of this powerful feature.
Why Add Delay to a Bus?
Before diving into the steps, it’s essential to understand why you might need to add delay to a bus:
- Phase Alignment: In large venues, sound from the main speakers can reach different parts of the audience at different times. Delaying certain buses helps align audio signals so that the sound arrives simultaneously across various speaker zones.
- Audio Synchronization: When integrating with video or broadcast feeds, adding delay ensures that audio and video remain in sync, enhancing the overall experience.
- Feedback Reduction: Properly timed delays can help minimize feedback issues, especially when using multiple microphones and speaker setups.
Prerequisites
- Firmware Update: Ensure your Behringer Wing is running firmware version 3.0 or later. The delay feature for buses was introduced in this update.
- To check your firmware version:
- Press the Setup button on the console.
- Navigate to the Console or System tab.
- View the current firmware version displayed.
- To check your firmware version:
- Understanding of Bus Routing: Familiarity with bus routing on the Behringer Wing will help you apply delays effectively.
Step-by-Step Instructions
Step 1: Access the Bus Layer
- Press the Bus layer button on the console to access the bus channels.
Step 2: Select the Desired Bus
- Use the channel select buttons to choose the bus you wish to add delay to (e.g., Bus 1).
Step 3: Navigate to the Bus Settings
- With the bus selected, focus on the touch screen display.
- Go to the second tab on the screen. This is typically labeled with a gear icon or named “Bus Settings”.
Step 4: Explore the Bus Settings
- In this tab, you’ll find several settings:
- Default Send Mode: Determines how channels send to the bus (Pre, Post, Tap).
- Trim and Balance: Adjusts the overall level and stereo balance of the bus.
- Delay Settings: The new feature introduced in firmware 3.0.
Step 5: Access the Delay Settings
- Locate the Delay section within the bus settings.
Step 6: Activate the Delay
- Enable the delay by tapping the Activate or On/Off switch within the delay settings.
Step 7: Choose the Measurement Unit
- You can specify how you want to measure the delay:
- Milliseconds (ms): Directly input the delay time.
- Meters (m) or Feet (ft): Calculate delay based on distance (useful for physical speaker placement).
- Select your preferred unit from the available options.
Step 8: Set the Delay Amount
- Input the desired delay value:
- If using milliseconds, enter the exact delay time (e.g., 7 ms).
- If using meters or feet, input the distance, and the console will calculate the corresponding delay time.
Step 9: Confirm and Fine-Tune
- Ensure the delay is correctly set by:
- Listening to the audio output and verifying synchronization.
- Making adjustments as necessary based on the acoustics of the venue or specific requirements.
Step 10: Repeat for Other Buses (If Needed)
- If you need to add delay to additional buses, repeat the process for each one.
Additional Tips
- Saving Your Settings: After configuring the delay, consider saving your settings as a snapshot. This allows you to recall the bus delay configurations quickly for future use.
- To save a snapshot:
- Press the Library button.
- Navigate to Snapshots.
- Choose Save or Save + Scope to specify what settings are saved.
- To save a snapshot:
- Using Distance Measurements: When using meters or feet, the console calculates delay based on the speed of sound (approximately 343 meters per second). This is particularly useful for aligning speakers that are physically separated.
- Firmware Updates: Stay updated with the latest firmware versions to access new features and improvements. Regular updates can enhance functionality and fix known issues.
Understanding the Impact of Bus Delay
Adding delay to buses can significantly improve the audio experience in various scenarios:
- Large Venues: In concert halls or stadiums, aligning the audio from main and delay speakers ensures that all audience members hear the sound simultaneously.
- Broadcast and Streaming: When audio is transmitted over long distances or integrated with video feeds, delays can synchronize audio and visual elements, preventing lip-sync issues.
- Complex Audio Setups: In setups with multiple microphones, instruments, and speakers, delays help in phase alignment, reducing the chances of phase cancellation and ensuring a coherent sound.
Conclusion
The addition of bus delay functionality in firmware 3.0 has expanded the Behringer Wing’s capabilities, making it an even more powerful tool for sound engineers. By following the steps outlined in this guide, you can effectively implement bus delays to enhance your live or studio audio setups.
Understanding and utilizing this feature allows for greater control over audio synchronization, phase alignment, and overall sound quality. Whether you’re managing a live concert, a house of worship, or a broadcast event, the ability to fine-tune delays on buses ensures that your audio delivery is precise and professional.
Stay tuned for more tutorials and tips on maximizing the potential of your Behringer Wing console. Happy mixing!


